
|

|
|
|
GEOFFREY'S WEB SITE
|
Date: 3-14-2009
|
Number of Hours: 4.00
|
Manual Reference:
|
Brief Description: Rudder trailing edge
|
|
Enough has been written on this subject to fill up the www. Rv trailing edges.
I didn't do anything earth shatteringly different. Obviously, every step is important, and if any one of them is screwed up the trailing will end up, well, screwed up. I used a piece of 3/16' aluminum angle as my clamping bar. After match drilling the angle with a skin, I placed the aex wedge on the very edge of my workbench and drilled and clecoed it to the bench. Now I was abled to countersink the wedge because the edge of the countersink can hang over the edge of the table and I was able to get nice, consistent countersunk holes as the drilled holes in the table provided pilot holes for the microstop countersink. Then, using a marker, I labled each of the holes of the rudder trailing edge in the order of the pattern I wanted to rivet them in. Knowing that I was going to rivet every hole in the opposite direction.#1 on one end, #2 on the other end, #3 in the middle, #4 between #1 and #3, #5 between #2 and #3. Then I just kept splitting the difference until every-other hole was numbered. Flipped it over and did the same pattern on the remaining every-other holes. Next I mixed up the Proseal and spread a layer on the wedge. Placed the wedge between the skins and clecoed the whole mess to the pre-drilled aluminum angle and set it aside to dry for several days.
|
|
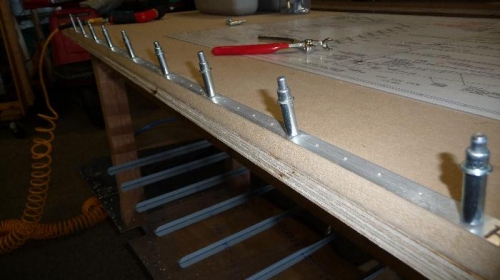
By drilling and clecoing the wedge to the edge of the table, the countersinking is fairly easy.
|
|
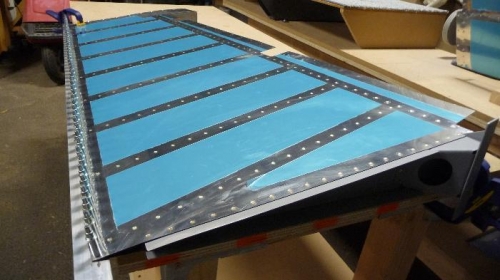
The trailing edge glued and clamped.
|
|
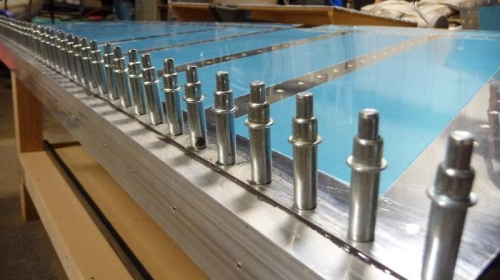
Get the Proseal even and make sure the clecos set fully.
|
|
|
|
|
|
|
|
|
Copyright © 2001-2024 Matronics. All Rights Reserved.
|