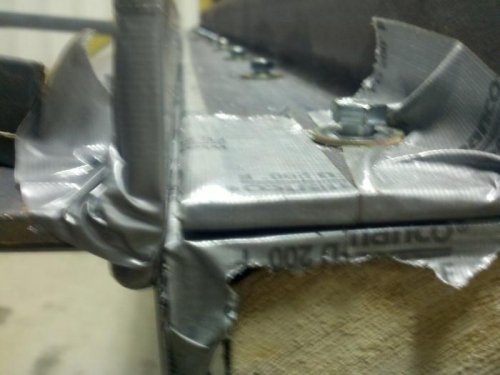
So here is the list of what I used. 4 sections of 3x3x1/4 angle iron, 15 grade 8 bolts 3/8", 2 six foot steel hinges with about 1.5 inch of mounting tab and about 1/4 hinge pin. Duct tape to soften the metal contact surfaces. 100 steel s-48 pop rivets. Mounted to a 2x10 piece of lumber.
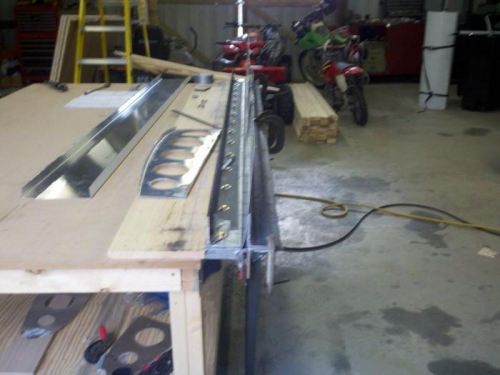
Mount 1 8' section to the lumber spacing the 15 bolts out the length of the brake. Remember you are not building a watch. I set my bolts about 2" back from the bend edge. This leaves plenty of of room for the bending of the edge. I put the top of the hinge level with the surface of the iron I mounted to the board. I drilled both the bottom and upper section of iron that clamps the metal at the same time to assure the bolt holes lined up correctly "I used 1/16 setback on the top half". After mounting the first 6ft section of the hinge, I pushed the hinge pin thru and into the second hinge about 3 feet. THis allowed 3 ft of the hinge pin to be in the 1st hinge that is already mounted and about 3 feet in the second hinge before mounting. This assures it will be somewhat straight. Mount the second hinge. Now take the other half of the hinge and mount it to the 3rd section of angle iron. Make sure to put the top of the hinge at the same point. Just where the top of the hinge is level with the top of the angle iron. I put pop rivets in the hinge every 55~60mm. After both halves of the hinge are mounted have someone help you put it all together. I put the six ft section of the hinge pin through the 2ft section and 4 ft of the 6ft section. I then put a 2ft section of hinge pin in the rest of the 6ft section of hinge. I then mounted a handle to the unit it four locations and tied them all together at the bottom so that pulling on the lower section would displace the pull pressure across the entire 8ft section. You should still have a 4th piece of angle left. This piece will be stacked on top of the moving section of the 3rd angle iron and assist you in bending past 90 degrees. I cut mine into 2 four foot sections
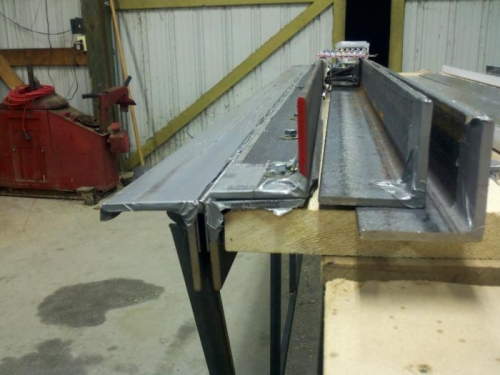
Maximum bend angle, without additional angle iron
The bend past 90 degree angle is sitting behind the brake