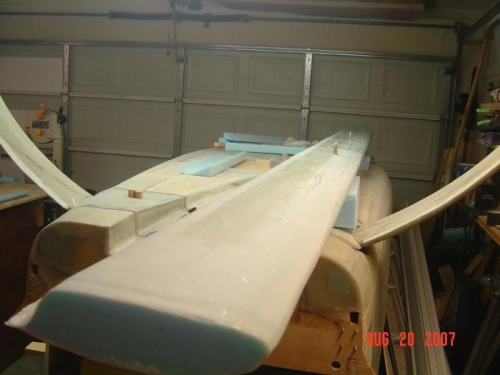
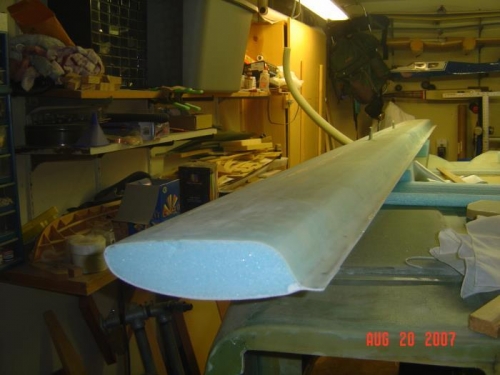
Brief Description: Installing Hard Foam Blocks for Elevator Hinges, t
07/24/2007 I bondo'd the jig to the TE. I flipped the canard over. I sanded the TE and LE. 07/27/2007 I removed the fishtail and most of the TE peel ply. 07/28/2007 I removed the rest of the TE peel ply, sanded down all the extra micro from the LE, and cut out the hard points for the elevator hinges. 07/29/2007 I cut out the holes for the hard points. 07/30/2007 I micro'd the hard points into the canard. I reinforced the supports since the working had broken many away. I leveled the canard and checked for twist, finding none (? Can I believe it ?, I will check again). I masked off all the foam in preparation to lay up the spar cap. 08/01/2007 Nancy and I layed up the top spar on the canard. I used 11 plys. I left it peel ply'd 08/03/2007 Removed peel ply and dressed up the foam and the spar cap. 08/06/2007 Cut the fiberglass for the top layer 08/08/2007 I filled up the many dings and holes in the top of the canard, filled up the area around the TE w/ micro, and covered the foam with micro. Nancy and I then layed up 1 UNI overlapping 2" onto the bottom skin, a layer of BID overlapping also, then two other UNI overlapping less each time to feather. I peel ply'd the entire top surface and the bottom overlap. 08/09/2007 Lifted the peel ply and sanded down the rough interface. Removed the jig and sanded all bondo off. Sanded the TE to a straight line. The Canard is complete ! Onto the elevators.