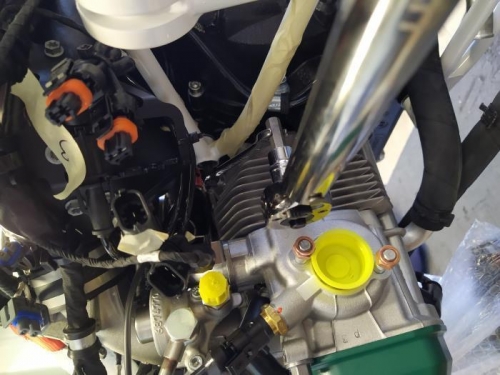
1. All the mounting screws were removed from the engine of the carter.
2. The WD-1220 was attached to the tube at these bottom right of the water pump , after the pivot of the WD-1220 on the bottom left of the coolant.
3. Mount the WD-1220 to the rotax 912iS engine as shown in Figure 1 and put the four screws until most of the threads were hooked into each.
Do not apply the final torque.
It was checked if the left side would need washers in case of gap and the washers NAS1149F0632P were installed under both mount holes of the left side.
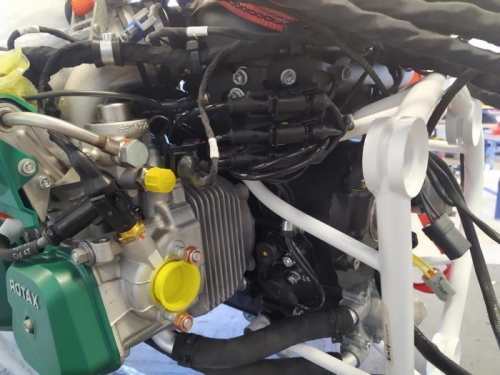
4,5 . The ifnal torque was applied to the four toel masking was removed from the WD-1220 masking was removed.
6. The lower coolant hoses were reconnected to the water chute and the spring clamps were returned to their initial position.
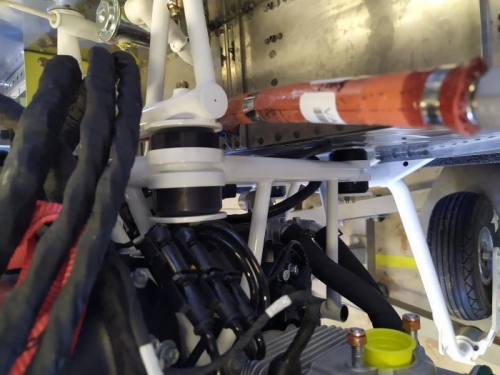
7. CPS wires were disconnected for re-routing through the WD-1220 around the aluminium bracket.
8. CPS wires were reconnected making sure that the yellow connector was connected with the same cable that had its mark on it and were reconnected to the connector body.
9. The tie wrap to the three connectors was installed.All the mounting screws were removed from the engine of the carter.