
|

|
|
|
GA Aerospace’s Web Site
|
Date: 7-5-2018
|
Number of Hours: 12.00
|
Manual Reference:
|
Brief Description: Sec 35 Pages 36A-08/09/05
|
|
July 2th, 3rd, 4th, 5th, 2018
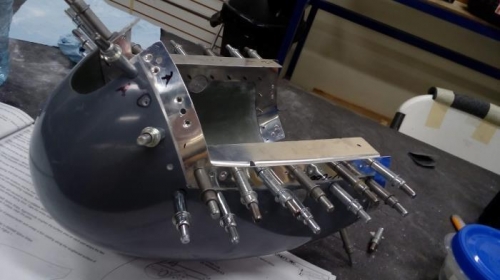
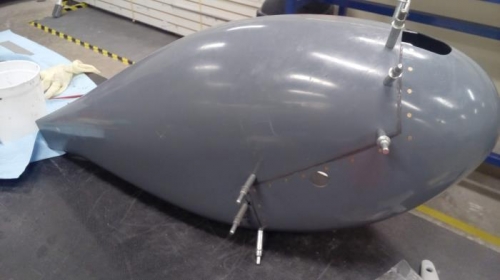
On this days we worked on page 36A-08 and did the steps 1 to 7. In this page we worked on the front wheel fairing, we removed material with a step drill, checked that the pieces fit, sanded to make a uniform surface. On step 2, we must drill #40 all the dimple mark in the U-00005A then cleco the U-00006B Splice Strip. Before attaching the part, we removed all the excess of material. In the same step, we masde countersink for the holes #40 and finished making the holes of the step 1. We trimmed the U-0000A-1 to do the sides left and right of the Wheel Fairing Brackets, after cutting we deburred the parts.
On page 36A-09 we worked on steps 1 to 6. In these steps we had to ensure square and the parts to fit correctly, if necessary, we sanded the edges. Step 2. Once the parts were together we made the final-drill #19 the #40 holes and secured with screws to prevent damage.
Step 3. We had to adjust the U-00006B Splice Strips to fit inside of the U-0006A-1 Wheel Fairing Bracket, then final drill #27 all screw holes and the #40 in the splice strips and wheel fairing brackets. Dimpled all the nutplate and the rivet hole.
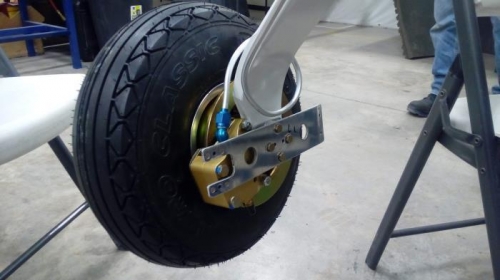
On Steps 4, 5 and 6 we had to prepare the parts with grease because we applied proseal between the Wheel Fairing and the Splice Strips while the proseal was wet riveted the pieces. On page 36A-05 we did steps 2 and 3, removed the Main Wheel from the Axle, removed the bolt and discard the washers and replaced with the U-0003. The Bracket mount U-0003 we did the drill #25 and then used a tap #3/16, but in this process a part was scraped out. We installed the part U-0002 because we needed to do the following steps, but it was installed temporally, when we have the new one, the damaged piece will be replaced. On page 36A-06 we did the step 1 that was the installation of the Bracket Mount U-00004 and the U-0002. In this step we had a problem with the axle, because the bracket mount did not have the complete thread, so, we could not place the bolts. We made the tap for the
|
|
|
|
|
|
|
|
|
|
|
|
|
|
|
Copyright © 2001-2024 Matronics. All Rights Reserved.
|