Members: Daniel Martinez, Ismael Romo, Jose Guerrero Abscent:0
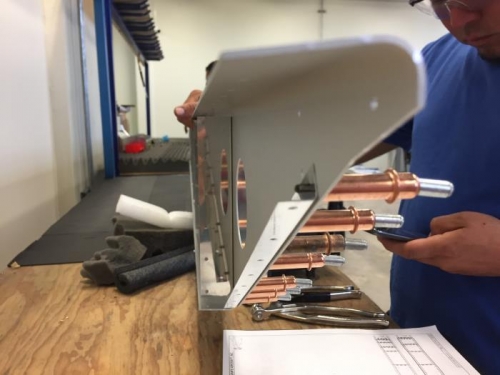
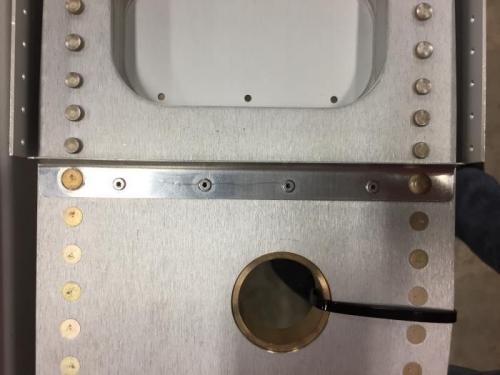
We started the day continuing with step 1 of page 13-03. To do that we had to place the left spar assembly on the sawhorses, we let everyone know we were doing that so they were aware of it and so they would be careful around it, this will be a common practice. We continued with steps 2 (13-03) and 3 (13-03). To complete step 3 (13-03) we had to use a wedge tool described on the manual because our pop riveter would not let our pop rivet be flat on the surface. We used masking tape to prevent scratches on our spar from the wedge tool or our riveter. We actually had to remove three rivets because they had a little gap, but it was greater than the .002" tolerance. Once we got a hang of it, we completed these rivets and proceeded to the last bit of step 3 (13-03) that was riveting the part W-1206K to the spar, the holes were not aligned so we had to kind of match drill all of them (4) with a #30 drill bit really carefully so the rivet would fit, that’s how we completed step 3 (13-03).