
|

|
|
|
GA Aerospace’s Web Site
|
Date: 7-7-2018
|
Number of Hours: 4.00
|
Manual Reference: 32iS/U-02
|
Brief Description: Sec 32, page Page 32iS/U-02, Page 39iS/U-02**
1
|
|
**Page 21iS/U-21**:
6. This step was previously completed by the fuselage team but the studs had to be removed because of a manual misunderstanding, those screws will permanently be there as shown in figure 1.
**Page 32iS/U-02**
1. N/A
2. N/A
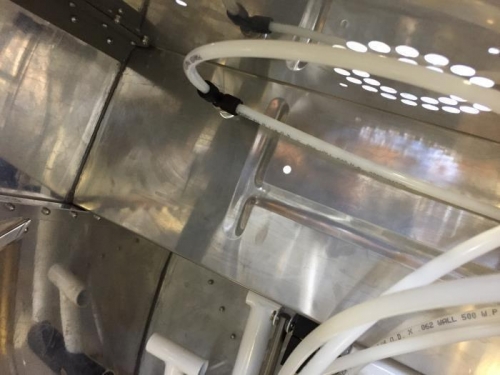
4. The marks made on step 3 should at least touch the edge of the reservoir connection.
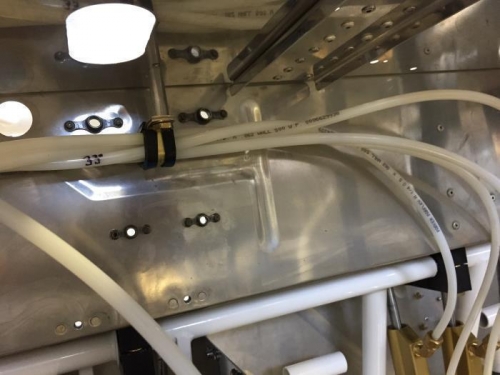
5. We had previously attached the clamp, this time we fully tightened it.
**Page 39iS/U-02**
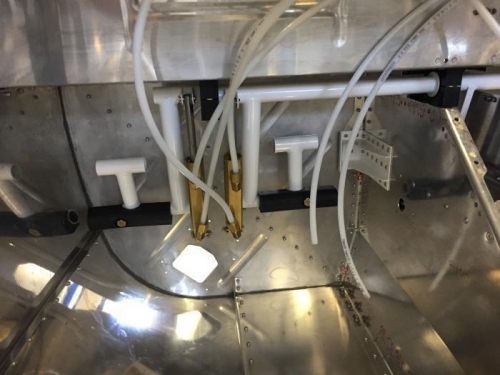
1. First of all, the gas struts should not be clamped from the main cylinder in order to avoid damage, it should be clamped from the ends. As you may notice, the holes were bigger than expected, we first thought that it would be a good idea to use several drill sizes until we got the final size but it did not work, this caused the hole to have a little “step” that is really tough to drill through.
The way to do this is to clamp it as shown, if you have an extra person to help you grabbing the other end of the strut, this will avoid the part to rotate on its axis, which would damage it (this happened to us and had to blend, prime and paint the strut). Then, use a step drill through the hole, this is the smoothest way possible to do this
2. Another sub-step was completed, which was bevel the inside edge of the canopy frame arms, easy but time consuming, use a file, then sandpaper and then scotch-brite moto tool.
|
|
|
|
|
|
|
|
|
|
|
|
|
|
|
Copyright © 2001-2024 Matronics. All Rights Reserved.
|