Brief Description: Pushrods to elevator and drilling final wholes VS.
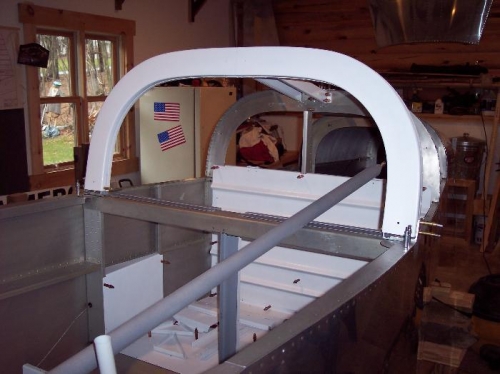
Many hours over the last few days working on the elevotor controls from the stick aft. Not a lot to say other that alot of filing in the location of the stick on all the ribs directly under the floor to obtain full movement of the elevator to the control stops.
Also, I painted a number of misc parts for inside the fuselage. I'm painting them white for now.
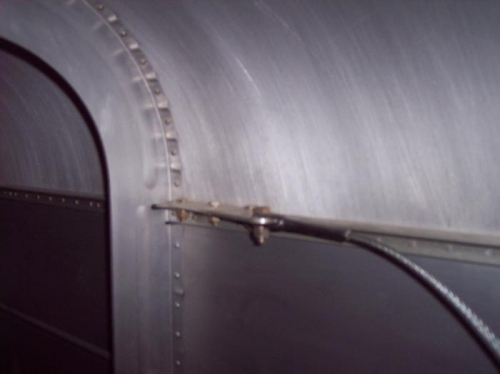
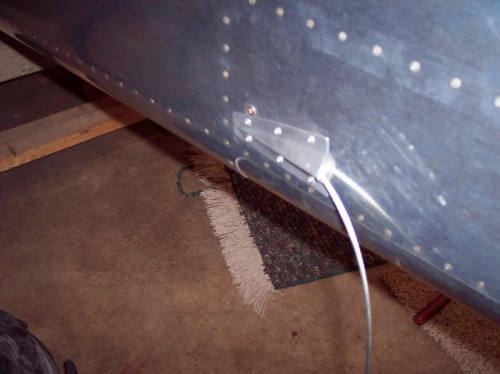
Did some riveting on the tail cone but still have a few of the lower rivets to install. I installed the plastic tubing for the rudder cable and have been working in that area trying to get the rudder clamp installed and prepared for rivets on the small fairing where the cable exits the fuselage. This should be very easy, however, those small clamps are a pain in the butt to work with, I have one inplace and one more to get done. For others working in this area, if you make the small fairing that is shown on Sam Buchnann's site make sure you don't put a rivet location in the area of the srew holding the clamp and resolve that these rivets will be blind and more than likely not flush. Start in the front of the fairing back 3/8 of an inch and drill the holes to #40 and install blind rivets. Don't place any rivets in the area of the inside clamp! Just my two cents.
"It's fun, but it is hard to stay ahead of this plane even without an engine and setting in the garage." "Always remember, its just a machine."