Steps 1 through 4 were accomplished on 10/17/16 and then step 5 was accomplished on 10/19/16 after the sealant had bonded the seals in place.
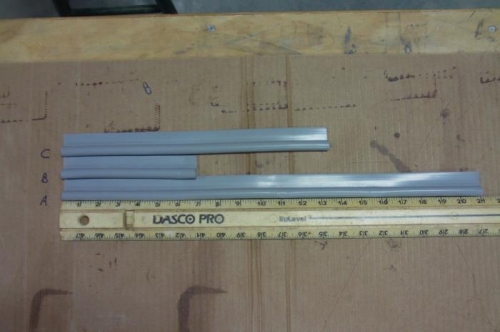
Cut P-seal material into three specified lengths. (step 1)
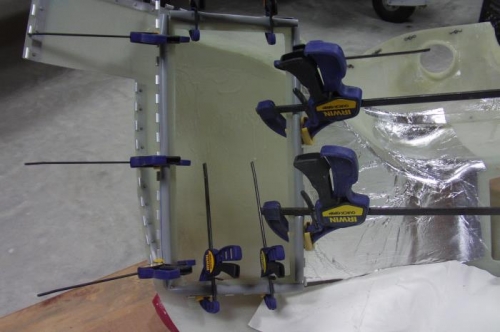
Sanded perimeter of cowl duct interface with 80 grit sandpaper, cleaned duct seals with Isopropyl Alcohol (didn't have Denatured Alcohol), and bonded seals to duct interface with red silicone RTV. Used left-over hinge halfs and clamps to hold duct seals into place while they cure. (steps 2 through 4)
Slit the bottom rounded corner so seal will compress without bunching up when cowl is installed. The rounded corner did not turn out as nicely as shown in figure 2 of the KAI (mine was more squared off) but will go with it for now unless there are issues down the road. (step 5)