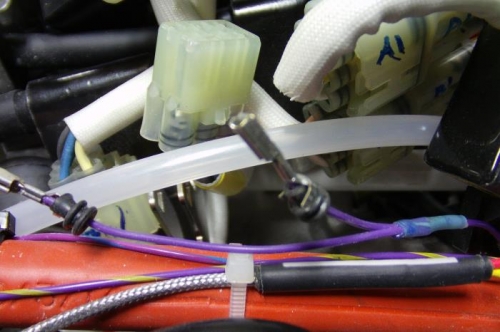
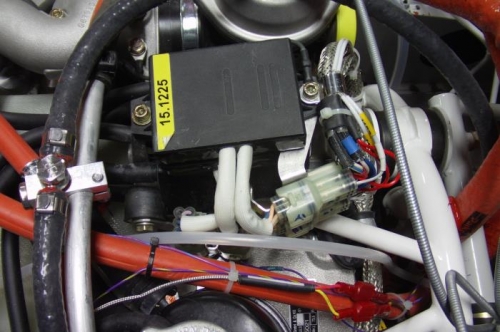
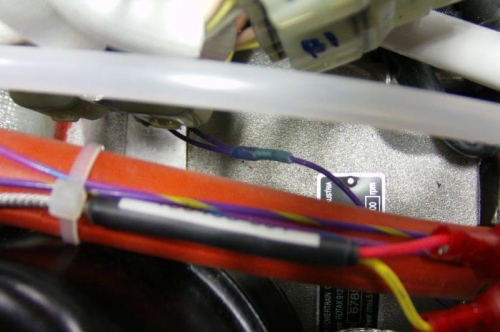
This page was originally started in August when doing the rest of the engine installation. Completed most of step 1 and inserted the shorter wire into the A2 connector and gave it a very gentle tug. The wire easily pulled out of the connector and pin. I got frustrated and put the fix on hold until I was motivated to tackle this very tight area. Fast forward to today! Removed both screws that secured the ignition modules to the bracket, then rotated the modules out of the way for easier access. Disconnected the A2 connector halves, pried the pin tab in the connector housing, and removed the bad pin and seal. Found extra pins that were in the power plant kit and they were the correct ones for the ignition module connectors. Crimped the wire onto the new pin (with seal), then inserted the pin into the A2 connector. Gentle tug and everything staying in place. I'm convinced that the crimp was bad during manufacturing. Reconnected the A2 connectors halves. Disconnected the B2 connector halves, inserted the longer wire pin, and reconnected the B2 connector halves. Installed A2 and B2 connectors onto the metal ignition module bracket. (steps 1 and 2) Cleaned the ignition module mount screws, applied Loctite 243 to the threads, installed, and torqued to 22 inch-pounds per the Rotax IPC.