Brief Description: Install Engine Mount & Cooling Shroud
Page 46-05 After many iterations of fitting and sanding, finally got the cooling shround to fit. Drew line on engine case at front and aft edge of cooling shround. Removed cooling shroud. (steps 1 and 2) Tilted back end of engine up, then removed lower cooling hoses from water pump (steps 3 and 4) PAGE 46-05 IS COMPLETE
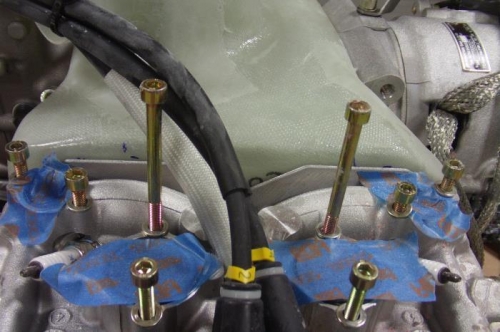
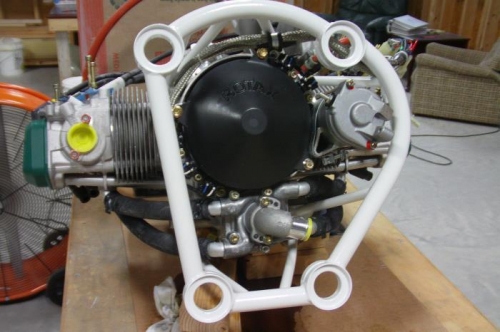
Page 46-06 Removes M10x110 allen screw from engine case. (step 1) Removed the two engine shipping angles from the engine case. Removed power coating from mating surface of engine mount bushings and applied painters tape to inner surfaces of engine mount. (step 2) Without much drama, aligned engine mount with engine case. (steps 3 and 4) Secured engine mount to engine case with screws and lock washers. Torqued screws to 30 foot-pounds while Denise held onto the engine. (step 5) Removed painters tape from engine mount. (assume step 6 since there is no step 6 identified on this page) Reinstalled lower cooling hoses to water pump. (step 7) PAGE 46-06 IS COMPLETE
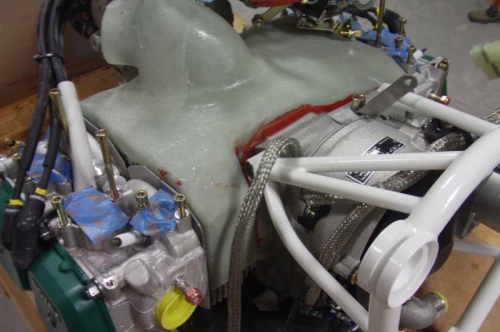
Page 46-07 Applied high temperature red RTV to marked line on crankcase and pressed cooling shroud into place. Used popsicle stick to smoot sealant and to fill in larger voids. Not the neatest job but satisfied with results. (steps 1 and 2)