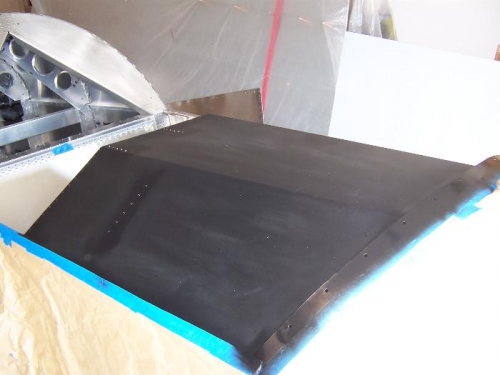
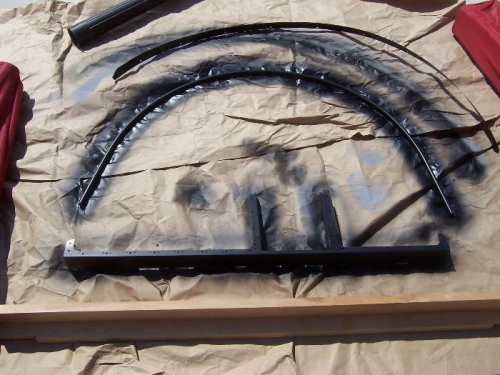
Fitting of the windshield. Drilled through the holes in the bow. Removed the windshield. Trimmed the forward edge per the marks I made to leave an even flange width for the cowling. For whatever reason, the initial curve I cut for the forward edge was a little too wide on the right side. Drilled the bow holes to 5/32, so there were 5/32 holes all the way around. Countersunk these holes for the washers. Drilled the holes up to 11/64. Sanded the edges of the windshield. Removed the windshield bow from the fuselage. Drilled the aft strap to 5/32. Cleaned and painted the bow all around and the strap both sides. Masked off the fuselage and painted all the fasteners which had been installed for the glare shield and upper firewall. Started to tap the windshield bow. Got 4 holes done and felt like the tap wasn't doing very well, so I stopped. Later in the day, I got to the hardware store, bought another tap. Got back home, stuck it in a hole, had it almost done and snap! End of that operation. Later I came back and tapped the remaining holes with the other tap that I thought wasn't so good. If only I had proceeded with what I thought was the worse tap, I'd have the windshield installed by now. I was so angry I couldn't do anything but walk away.