
|

|
|
|
Sonex 815 Build Logs
|
Date: 5-14-2007
|
Number of Hours: 1.50
|
Manual Reference: F08
|
Brief Description: Seat installation
|
|
Completed the seat installation. Finished drilling the hinges to the fuselage, pulled the seat & hinges out, deburred it all, riveted the lower aft hinge to the seat, riveted the upper aft and lower forwards hinges to the fuselage, and installed the seat. Getting the lower aft hinge pins in place without access from the rear (through the tail cone floor) is going to be tough. I'll try to have the seat in place when I rivet that floor on, and not remove those hinge pins when installing the wing (but it might be required, I don't know). I clamped a 1x2 board across the forward spar box angles to represent the bottom of the panel and sat in the fuselage. The seat is LOW. I was concerned that a vertical panel might be hard to look at, but it doesn't seem to be an issue. I plan on running the panel about 2" lower than print (as some have done with a sub-panel), but with a flat vertical panel with more total height than stock. I've seen a photo of this and it allows room for 2 rows of 3 1/8" instruments, plus a "stack" of transponder, com, and EIS on the right side.
|
|
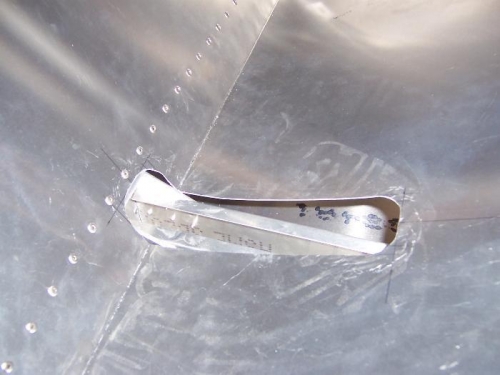
Center slot is 2" wide to clear seat belt brackets. Will need to go wider where seatbelts pass thru.
|
|
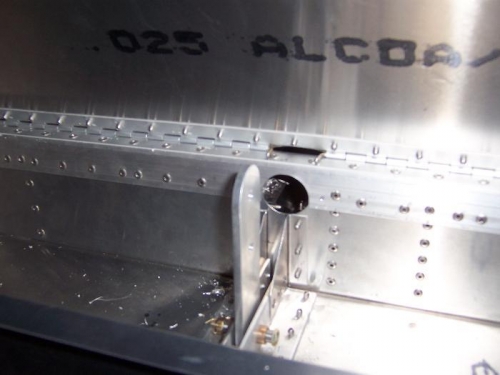
View of idler with seat installed.
|
|
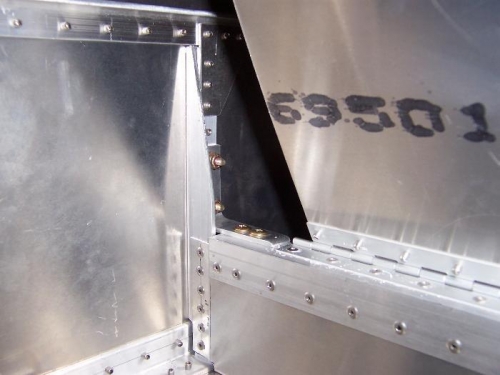
View of side bracket and where the seat support angle fits in.
|
|
|
|
|
|
|
|
|
Copyright © 2001-2024 Matronics. All Rights Reserved.
|