
|

|
|
|
Sonex 815 Build Logs
|
Date: 6-18-2006
|
Number of Hours: 4.00
|
Manual Reference: W05
|
Brief Description: Aileron details
|
|
Spent about 1 1/2 hours marking the 2nd aileron for drilling and cut the counterweight lead into two pieces. This goes pretty easily on the band saw. The block of lead doesn't have much extra though. Spent about 1 1/2 hours drilling the lead to the .090 plates. Went directly with the final size (#11 / 3/16") drill bit to avoid snapping the bit off in the hole. Only broke one bit. Things seem to go pretty smoothly until almost through. Then something about piercing through the lead or getting the aluminum from the bottom plate into the lead makes the drill bit bind up. Take it slow, clear the bit often, and if the lead heats up, leave it to cool (do something else). I got the plates lined up nice so the drill bit came through the pilot hole on the 2nd side pretty much right on. Spent the last hour or so figuring out how to drill the ribs to the drive plates. I had put the bolts through the lead as I went along, so when the ribs get clamped in place, there's no way to drill them. So I drew outlines of the drive plates on the ribs, disassembled the bolts through the lead, and made sure the ribs and outlines matched up. Got one set all drilled. This worked out well - the lead fits easily in the drive plates, and the ribs are quite even with each other. Should fit into the aileron well.
|
|
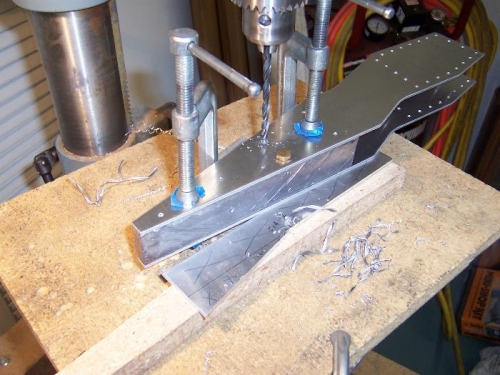
Drilling lead, 1 bolt in place.
|
|
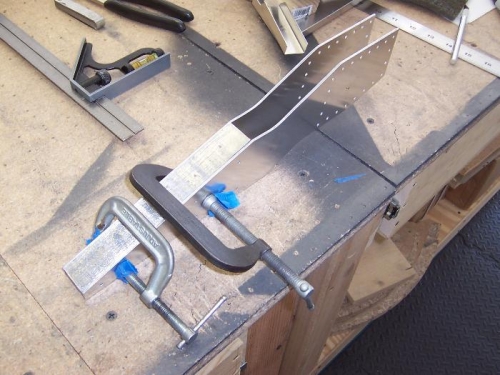
Setup - looks like there's nothing to align on, but they came out right on.
|
|
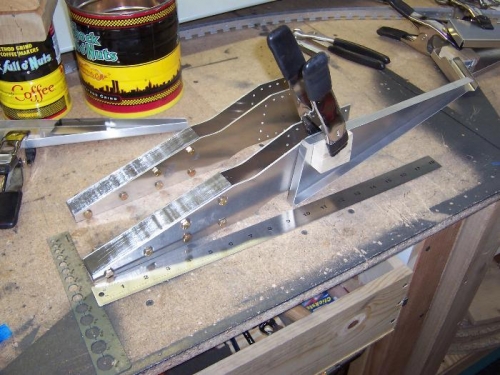
Both counterweights drilled, measuring for rib installation.
|
|
|
|
|
|
|
|
|
Copyright © 2001-2025 Matronics. All Rights Reserved.
|