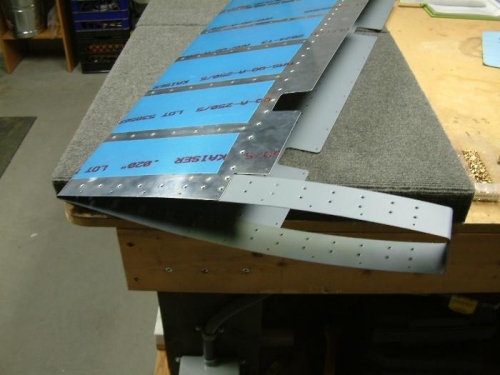
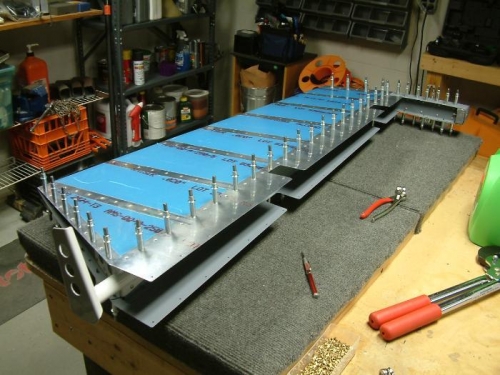
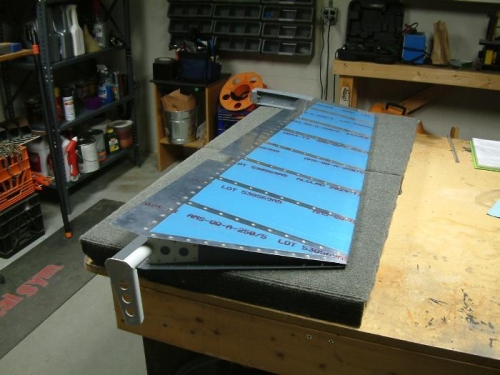
I stared the day by shaping the counterbalance weight per the plans. I drilled out the contoured area on my drill press. Then cut out the largest chunk on my band saw. Then I used a Dremmel to do the final shaping and polishing. I riveted the four places on the counterbalance skin that would be otherwise blind when the skeleton is installed. Then I placed a daub on RTV at the trailing edge of the skin stiffeners per the plans. I Clecoed and riveted the skeleton into place. I noticed that I had some places of the trailing edge that were bulging and not laying flat. I took two paint stirrers and placed them parallel to the trailing edge, one on top and bottom. I then opened up my hand seamers wide and GENTLY squeezed the trailing edge until I had a nice uniform radius. It came out well. By the way, this is not my idea; I’m not that clever. I now have two rivets near the trailing edge of each side that I can’t reach with my rivet squeezer. I was hoping not to use blind rivets. I may try and put the toe of one of my bucking bars over the rivet and back rivet the rivet into place by using a mallet. I don’t know.