Brief Description: Installed comm antenna and mounting plates
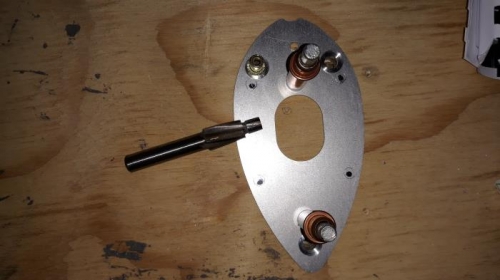
I received the counterbore tool today, clecod the RAMI mount to the bench and carefully counterbored the backside of the antenna mounting plate with a hand drill. It's difficult to keep it parallel, but the pilot of the tool works well. I checked the depth frequently untill I reached about .040".
I opted for M4 rivnuts and screws instead of M5 to allow for any misalignment of holes.
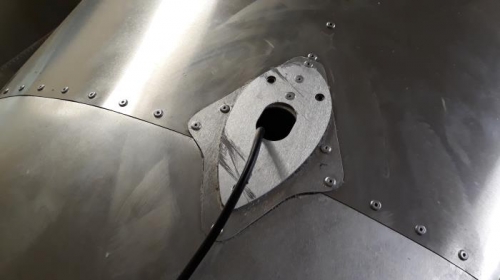
I applied uv resistant silicone sealant (UV6800) to the TAF plate, clecoed it in place and riveted it to the skin. I then installed 3, M4 rivnuts through the plate and the skin. I then applied sealant to the RAMI mounting plate, clecod and then riveted it place. Additionally, I applied sealant around the edges of the mount were there were small gaps to to the curvature and overlap of the skins.
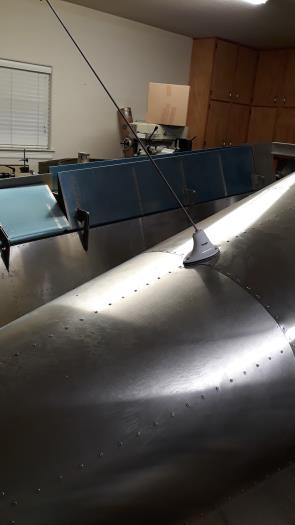
Finally, I connected the coax cable through the rubber gasket and to the antenna and then installed the antenna with 3 CS M4 screws.