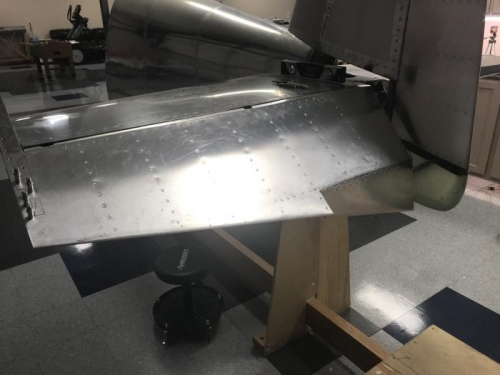
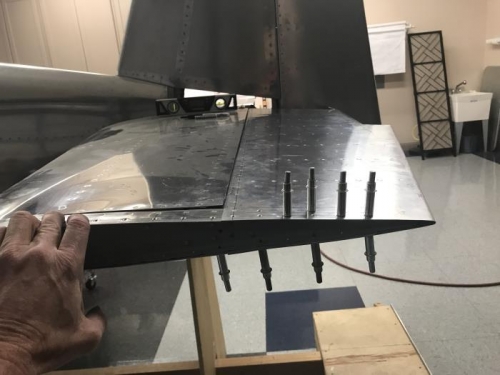
I finished closing out the elevator except for the tip rib where I will need to make some clips to tie the fiberglass tips on. Initial fit up of the elevator reveals that my tip rib in the stabilizer is slightly crooked and the tip of the elevator needed to be filed to accomodate it. Overall the fit is pretty good though, However, there will be a lot of trimming and bending and adjustments to be made before all hinge pins go in smoothly and the full range of motion is accomodated without scraping. Also, the final holes in the bellcrank will need to be drilled at some point when I get the other elevator finished and installed. This all may take a while. One thing I will say is that the slot I cut in the bottom of the elevator to install the pin is 2 inches wide. This is very minimal and difficult to work with when installing the pins (hinge bolts) It might have been a good idea to offset the slots slightly so that it allows more room on one side of the hinge bracket to install the pins. But too late now. One other thing I noticed is that the counterbalance will take quite a bit of weight. I may change the shape of the weight a bit to get more of it away from the hing line (to reduce the amount needed) This means the mass will be located out into the fairing. It also means that the mass will not be symetrical around the rib webs. This adds a rolling moment to the structure. However, this mass in the tip fairing idea seems to be used by planes like the RV-7 with great success.