Brief Description: Flap drive and bellcrank mount riveting
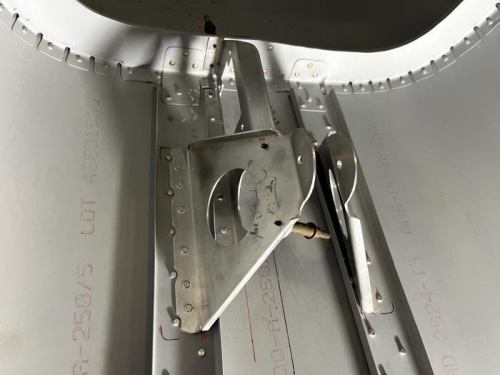
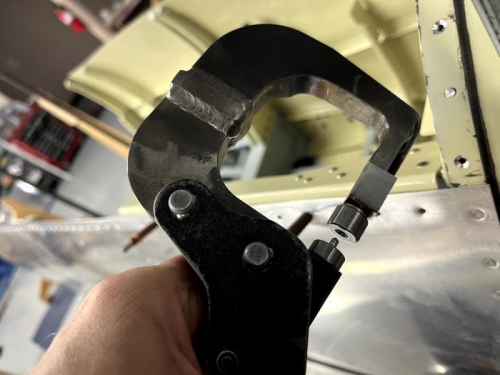
After the dimples were properly formed in the aft fuselage and splice sheets, riveting began. Image 1 shows the flap actuator anchor points. It is of interest to note that actuation of the flaps puts the actuator in tension, so, this type of interface should be more than adequate. Image 2 shows the bellcrank and elevator servo attach mounts. Both the actuator and bellcrank mounts were back riveted (an advantage of placing the fuselage on the floor. This results in very smooth rivet installations. With the upper longerons removed, it was time to form the dimples in the side skins and forward U channel that carries the load out of the engine mount weldments. This requires simultaneous dimpling through the .032 skin and .040 channel. To get the clearances required for this, I had to modify the squeezer yoke as shown in Image 3. Also, my pneumatic squeezers were not strong enough to form satisfactory dimples. As a result, I used a neighbor's very long armed manual squeezer and used the squeeze and twist method. This resulted in perfect dimples.