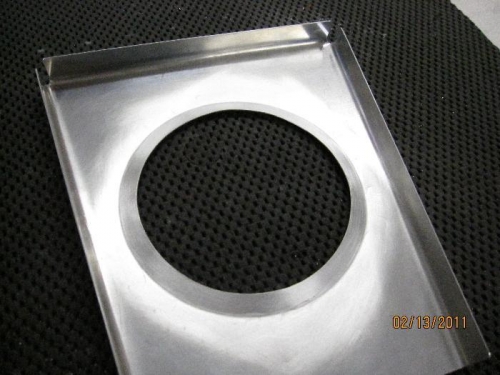
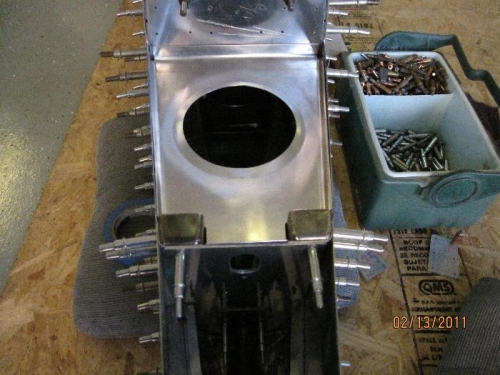
I cut the hole and flanged the Intercostal. I had looked forward to putting the flange in the intercostal using my new Noah 360 flanging tool. This tool adjusts to any hole size and allows you to gradually form the flange to any angle. I thought it would be perfect for formaing all the different size holes I will need to flange on the ribs. Unfortunatly, it does not work that well. When you put a flange on a hole, you essentially move material that was at a smaller diameter, to a bigger diameter. In order to keep the stress down in that metal, the flange must stretch when formed. The Noah tool does not seem to do this. As a result, the part becomes severly warped. In the case of the intercostal, I reworked the flange after forming by tapping aroung the perimeter to relieve the stress and get it to flatten. This is a slow and difficult process that will not be acceptable for the ribs. However, I did finish the intercostal. I will need to do some experimenting and thinking about how to better form the flanges on holes.