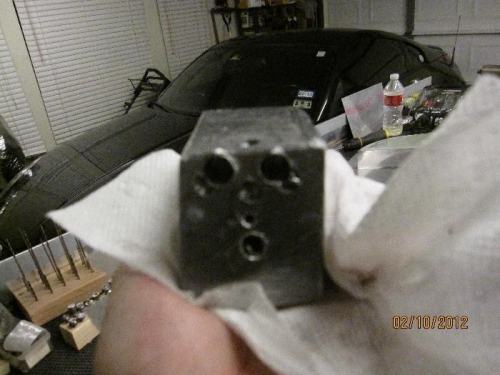
A few odds and ends on the rudder. With the tip rib removed, you can rivet the counterbalance skin. Next I final bolted and screwed the tailwheel steering arm and longerons. Also, I had to drill a few more holes in the lead weight to get it close to the weight it needs to be. I will leave it pretty heavy though to account for the rudder paint. Then after the rudder is painted, I will drill the final balance holes in the underside of the counterbalance intermediate rib. Also, as a note, if you are drilling into lead, make sure you use plenty of cutting fluid. Otherwise, the bit cannot clear it's chips and bad things happen.
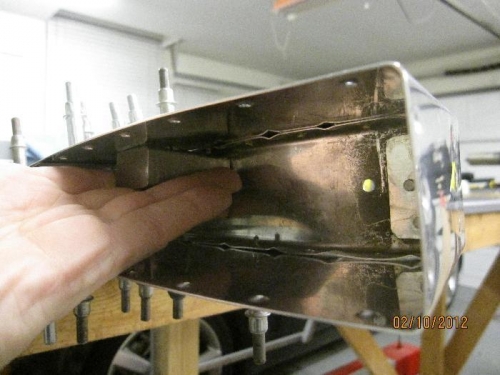
Riviting inside counterbalance skin using small tungston bar
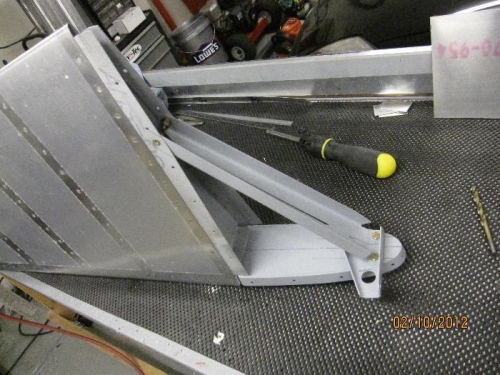
Final attachment of lower rudder parts
Holes in lead counterbalance to get the weight a bit closer to final