
|

|
|
|
Andrews Web Site
|
Date: 11-26-2011
|
Number of Hours: 4.00
|
Manual Reference:
|
Brief Description: Continued building Flanging dies
|
|
Dog work. Lots of wood disks, lots of repetition...lots of repetition...then finally glue and screw the parts together leaving only the final chamfer cut to be made on the female die.
By the way, at first I wanted to find a chamfer bit for the router that matched the die (37 degrees)...but after looking, it became apparent that you cannot just by a chamfer bit at any angle you want (without a custom order $$$) However, after thinking about it, it will be okay to use a standard 45 degree cut on the female die. This is because the female die only really needs to set the bend angle at the base, after that, the forming is really done on the plastic male portion of the die.
Also note, on the female dies, I only used 4 screws. This is because I did not want screws all around the perimeter due to the need to trim the female dies in the future. Some of the rib holes are quite close to the rib flanges...as a result, the die will need to be very narrow in some places. I expect to trim the female dies when I get to that point and did not want to run into screws when I do that.
|
|
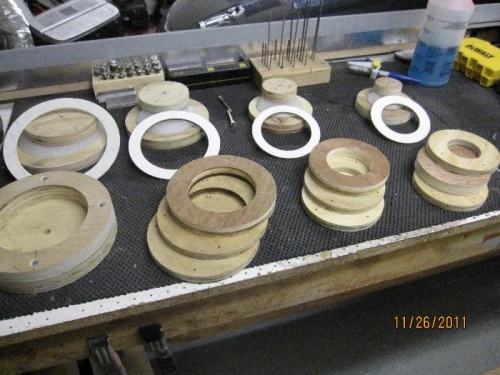
Lots of die parts ready for assembly
|
|
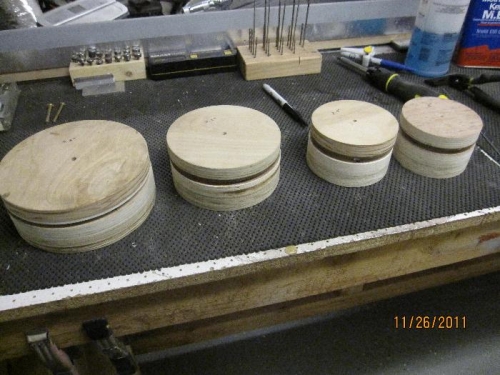
Parts stacked together
|
|
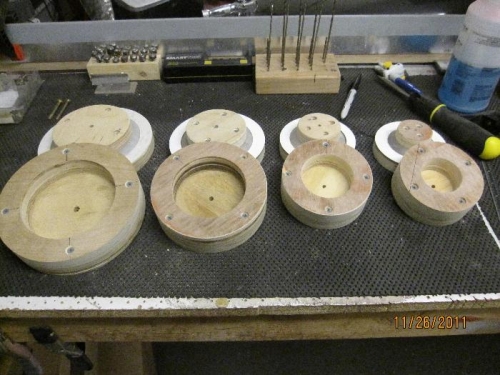
Parts assembled.
|
|
|
|
|
|
|
|
|
Copyright © 2001-2024 Matronics. All Rights Reserved.
|