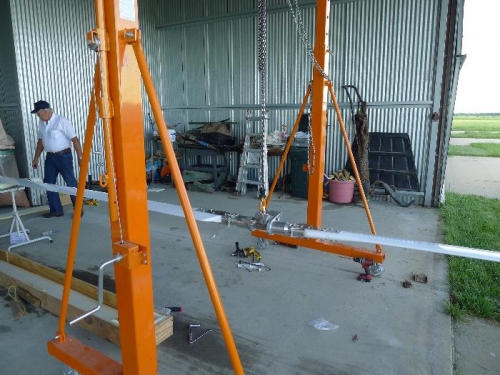
Got it safetly to the airport. I hired movers to move my toolbox, crates and other stuff. My Crane would not fit on their truck however, so we had to go back with the helicopter trailer. Kind of scary but we made it. The crane was perfect for the head install. I have a big hanger so it will live there permanently. Photo 1 shows the head with the blades on hanging from the crane.
We did not do a static balance because Bobby weighs each blade before it is shipped. As it turns out they were very close.
We set each blade on padded saw horses for the blade tape install. This takes a little while. Use plenty of soapy water, the more the better. They went on without any bubbles. I spent time making the blade end plates. They are made from 0.063" aluminum and I made the first on by hand with hand shears. It did not turn out so well. The second I went home an used the bandsaw it is much better. Remember to leave a tab on the bottom for the strobe.
We worked till late getting the head installed. It is a very close fit. We wound up filing some of the sharp edges in order to help with alignment. In the end we got it level then used the bolts to pull it down. These are very close tolerance bolts so they worked great for this purpose.