This represents the time spent over several days trying to improve the layout under the seat. One of the big things that bothered me was the use of the clear plastic for the solenoid board. I am sure there are many flying with no problems whatsoever. I however am on my way to the paint shop with my Cessna 421 to get the "ice shields" re-replaced. One day when it got below 0 deg F I pulled the plane out of the hanger and the shields were cracked.
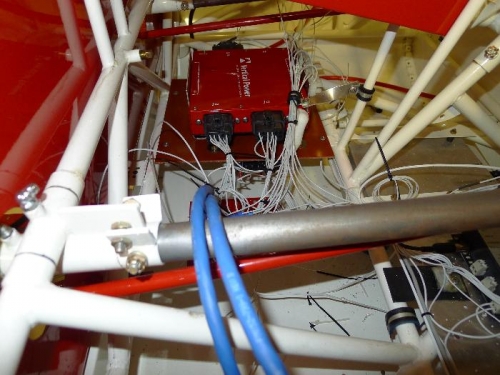
The board needs to be electrically insulated from the ship so I used some 1/8" phenolic from Spruce. Used the old one as a pattern. This job is just a pain because the wiring is already in place and everything must be hooked up in the plane. The bottom side of the board holds the Master and starter solenoids as well as the voltage regulator.
Living near B&C Specialties I decided to make a trip to see them. I let them (and Bill McMullen) talk me into one of their solid state voltage regulator. It is a lot of money, but so is the alternator. While there I bought their set of crimp-on connectors. I wish I had done this earlier. These connectors are better than the Pep Boys variety. They actually crimp the stripped wire as well as the insulation for strain relief.
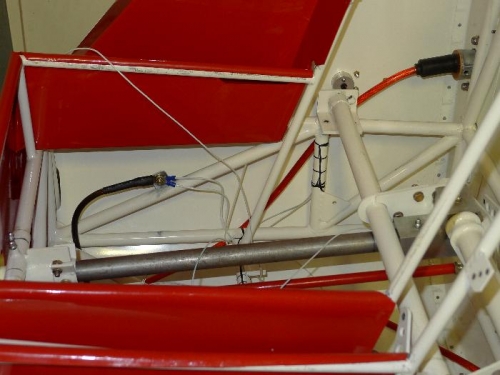
The second picture shows the ground point and the Aux Power Plug. As a note the Aux Power needs the power wire soldered in. This is at least 4 gauge wire. I also soldered the connectors on the ends. Welding torch makes quick work of it.