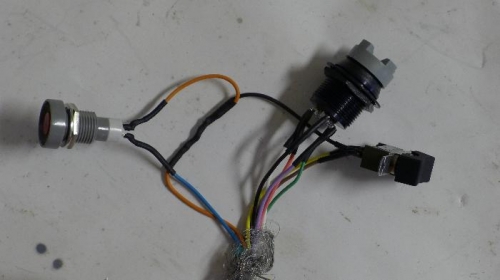
You may recognize the first picture as the last picture in the last log entry. It occured to me shortly after I finished soldering these pieces that they had to be stuck through the holes in the pod before they could be soldered. Crap time to unsolder them and build the collective pod.
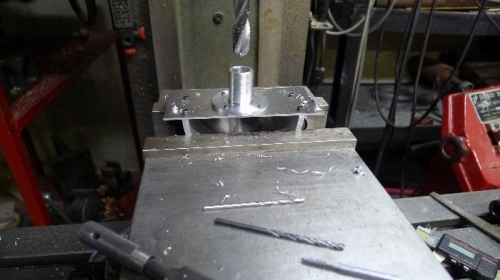
I did not take many good pictures so I will just have to describe the process. 1. turned a spud in the lathe that would fit inside the end of the collective. This is visible in picture s 2 & 3
2. Bore the center out so that the wires will fit through the middle
3. Take a 4" diameter piece of aluminium and bore it 2" deep and leave a wall thickness of about 1/8". The wall thickness will allow for drilling and tapping for 4-40 screws
4. Cut the "pipe" in half. That is how I created the semi circle shape
5. Make and attach the plate that the spud attaches to
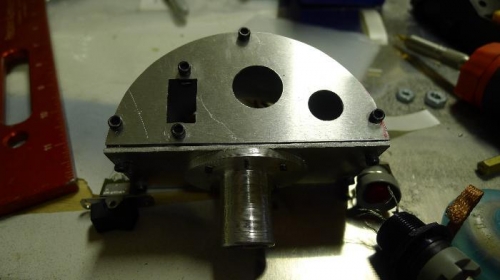
6. Make and attach the top plate (shown in image 3)
7. Make the proper sized holes for Starter, 4 way hat switch, governor control
The drillling and taping takes some time because I had to center up over the fairly thin wall for each screw. It takes 11 located, drilled and tapped screws to put this thing together.
I cannot run the wires and connections because I need to paint and silk screen the top plate. This bring about a change in plans. I think now that I need to complete all of the sheet metal work including putting the skin on.
I need to mount hte Pitot, temp sender and transponder antenna on the bottom of the ship. All of the other sheet metal needs to be put on in order to put the bottom on. I am going to powder coat all of the interior pieces so I need to get them all finished.