Spent the day fabing the control rods. This is a fairly straight forward operation and not as tedious as many. Again the instructions are lacking. Below is my procedure
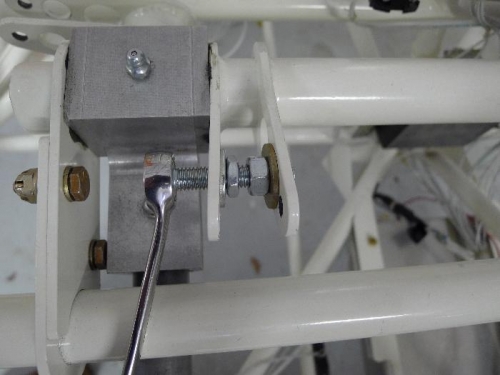
1. The horns are too narrow to insert the heim joints and need to be spread apart. It is probably easier to do this while you have everything out, but I did it in place without any difficulty. The tools shown is made with a bolt with at least 2" of thread. In my case I have a large selection of 8 x 1.25 metric bolts. The bolt goes throught the first lightening hole. There is a washer at each end to keep the nuts from passing through the hole. Notice that one nut is about half the width of the other. This is because there was not enough room between the flanges for 2 washers and 2 ful witdth nuts. The picture shows how far I have to spread the flanges in order to have clearance after they sprung back.
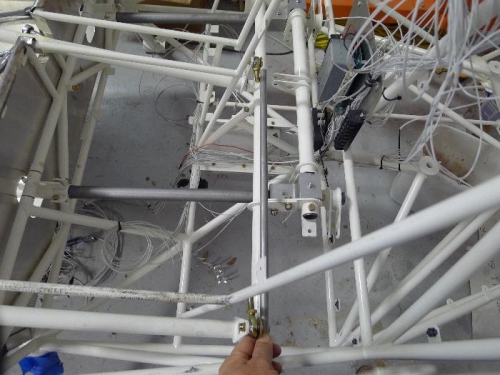
2. Measure the length required by installing the heim joints, laying the rod in place and marking. This is not real critical, anything within about 1/4" or so is fine. The idea (for the throttle) is to have the horn pointing straight up (90 degrees to horizon). This will give maximum mechanical advantage and throw. Also since both joints are right hand thread they cannot come loose or lose adjustment. They really don't even need the lock nuts.
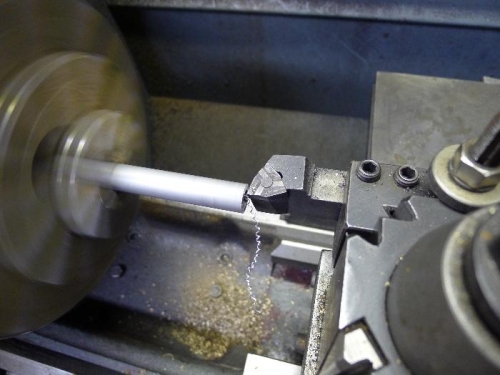
3. After cutting to length I squared the ends on the lathe as shown in the last picture.