
|

|
|
|
DAVE'S WEB SITE
|
Date: 1-11-2008
|
Number of Hours: 3.70
|
Manual Reference:
|
Brief Description: Wings
|
|
LOTS OF WORK TONIGHT!! Jim and I were able to get an amazing amount done, even considering the number of hours that we spent on it.
We started be inspecting our work from the night before, and yes, there are still some bumps, but we'll deal with them later.
Next we snapped a couple of lines on the front and back of the wing to define where the polyester fabric reinforcement would start and stop. Then we went about laying down those self-adhesive strips. The first panel we had me at the leading edge and Jim at the trailing edge. That didn't work out so well because Jim didn't know which holes were the correct ones so the tapes weren't aligned correctly and we ended up peeling them all up and reseating them. One subsequent panels I aligned teh tapes, and a couple had to be pulled up, but not too many.
Then we went on to melt out the rivet holes with a soldering iron. I did that work, and then Jim folllowed along and put in the rivets. The first panel went great, and then we started ruining rivets left and right becuase they weren't seated all the way down in the holes. To fix that, we started just running the drill through the holes one more time after I melted the holes...much better!!
The biggest problem we ran into was being 12 4-2 rivets short. I think it was based on the fact that we had to drill so many out on the second panel as well as elsewhere in the airplane previously. Long and short of it is that I used 4-4's instead. They bottomed out before they were seated, but some careful, slow pulling allowed the head to seat well and then the heads all matched as well.
|
|
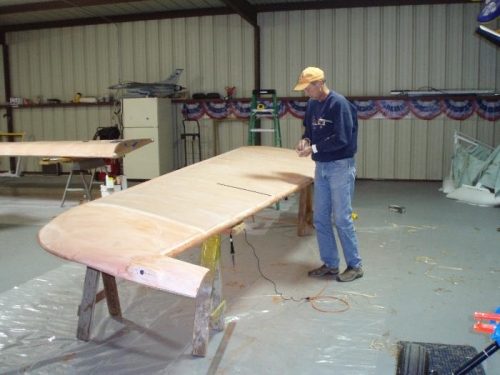
Jim laying out the rivets
|
|
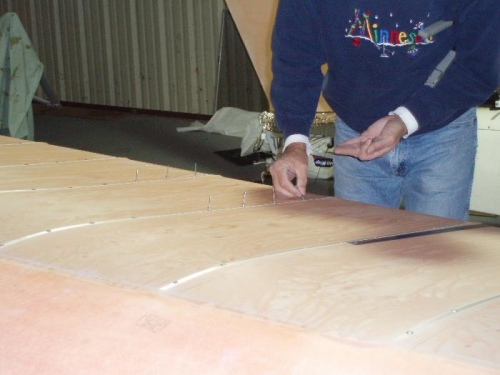
Close up of the rivets
|
|
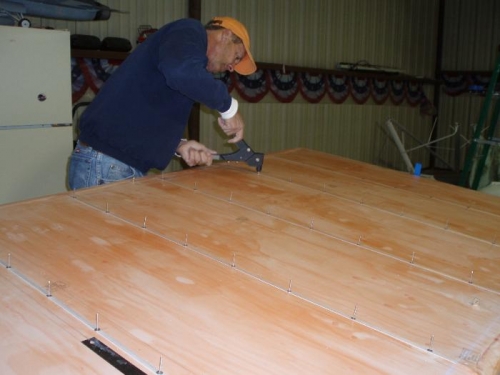
Jim seating the poprivets
|
|
|
|
|
|
|
|
|
Copyright © 2001-2025 Matronics. All Rights Reserved.
|