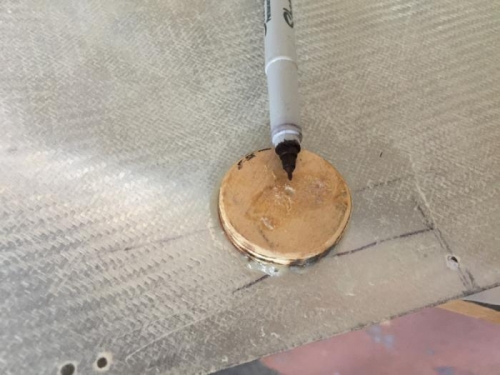
Pic 1 shows the result of a whack from my hammer giving the hardpoint position ready for drilling out. I used a rightangle drill attachment as you need to drill from the inside to the outside of the pant.
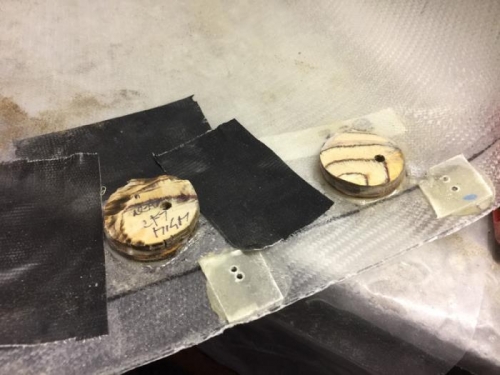
I went from the smallest drill bit I had and moved through the sizes. This way I could check for parallel and correct if needed. I reassemble the pants too and checked I was in line. I did this process for each of thye 8 holes required. Slowly and carefully.
After the holes where drilled and checked and yes even the pants assembled on the gearlegs, well I admit to a sigh of relief. I seem to have mounted my pants on and they also look pretty straight by eye.
The next process was disassembling it all and centering the hardpoints at the hole. This is a lot of grinding and shaping. I don't need all that excess weight down there when I can spend hours carefully grinding bits off it.
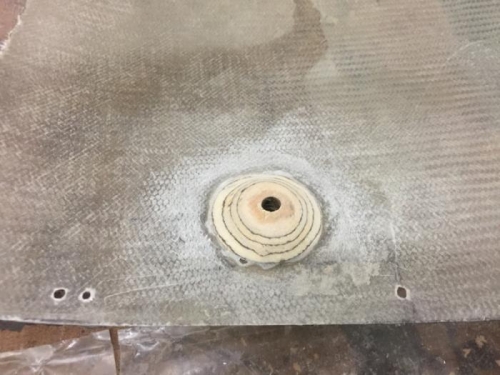
This is all about prepping the plywood for one ply of BID to seal it all up. Then there is another fine fitting on top of that still to come.