Brief Description: Prosealed Baffle Onto Left Fuel Tank, Installed Z-
Today I started off by cleaning up the right tank insides of sharpie marks and residual proseal. I then set it aside and did same for the left tank. I then mixed up a batch of proseal as well as mixing a batch of proseal in the push-up tube that you can buy from Van's in 3.5 oz. It turns out this is the perfect size to drop beads top and bottom of one tank and the flanges of each rib. I even had enough to squeeze out blobs in the 4 corner areas of the tank where the baffle mounts. This took a while as it is kinda hard to puch out the proseal with the plunger it came with. After laying down all of the proseal, I carefully inserted the baffle and clecoed every hole. I then squeezed/prosealed the 10 rivets for the top and bottom holes of the 5 inner ribs. I then installed the 5 inner rib z-brackets and prosealed/riveted them into place using a tight space rivet puller. This puller is expensive but worth the time and effort. It works very well. I also prosealed/inserted the left tank fuel sender. Next session I will proseal & squeeze rivets on the end rib z-brackets L1 & L7 ribs. I will then squeeze all of the skin-to-baffle rivets and that should complete all riveting of the left fuel tank.
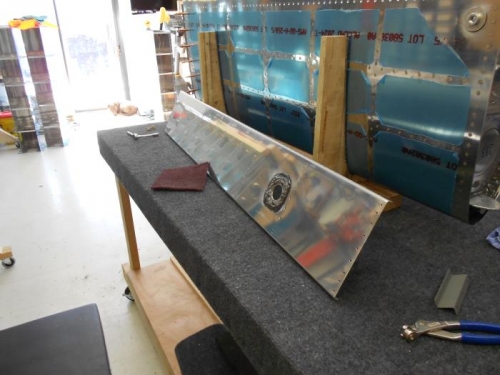
Preparing edges on baffle for prosealing
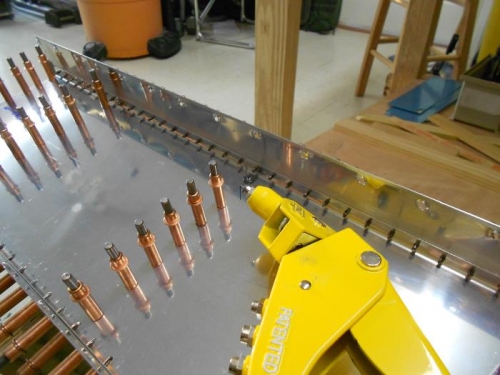
Pulling rivets on 5 inner ribs top and bottom
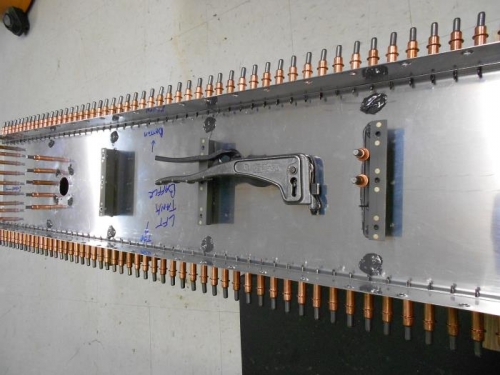
Using close space rivet puller for left tank z-brackets