Brief Description: Wing Stand Mounts & Leading Edge Wing Stand
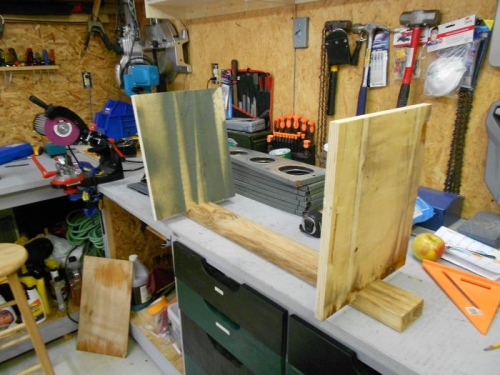
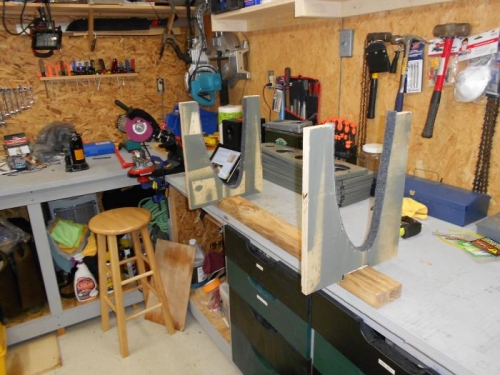
Today I started by cutting the angle iron into two 36 inch pieces and one 24 inch piece. I cleaned up the edges using a steel brush on the bench grinder. I then mounted the angle on the wing stand using 3/8 inch bolts. I did not mount the middle angle on the bottom of the wing stand as I will wait for my brother to come home to help out with exact location and height. I then started working on the leading edge/wing tank stand. I used the Van's recommended plans for this. Cut the 2x4 to 36 inches. I then cut a 3/4 inch piece of plywood to 13 inches by 15 inches...2 pieces. I used a nose rib to trace the shape then used a jigsaw to cut it out a bit wider. That came out good. I then used a table saw to cut a 1/2 inch deep groove/joint into the 2x4. After sanding the pieces of wood down a bit, I then glued the pieces together, used shims to tighten the gap, and a square to ensure things were straight. After glue dries, I will put a couple of wood screws from bottom to make joints stronger. I also cut 2 strips of carpet and glued them to the curved area of the plywood cradles to pad the leading edges. Next session, we will finish up on wing stand, hang right wing, and start riveting left wing skeleton.