Brief Description: Seatbelt Attchment Assem and Y Tail Assem
Today I started out by getting the prep formed pieces out necessary for the construction of the above assemblies.
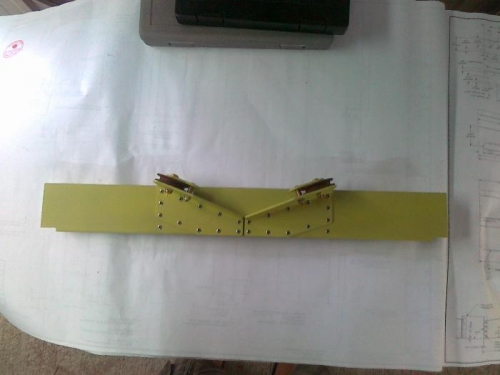
I marked out and cut the angle pieces for the seat belt web to attach to. The mounting plate neede to be bent to the required angle for filtting. I made the left attachment and the also the right one too. Fairly simple but a bit time consuming.
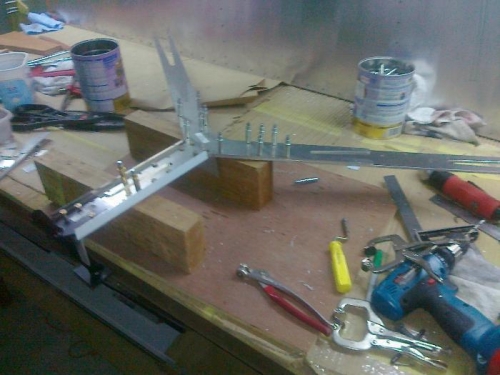
Next I located the 2 Y tail laser cut plates to be used for the fitting of the stabilators and tail. this was quite a significant step as it requires also a bend in each piece of about 4-5 degrees. I accomplished this on the workbench in the normal fashion. I then prepared the tail post section that is the vertical piec the Y spars will attach to. It is also the piece that the rear seection of the left and right fuselage sections that I have already completed will rivet to for the rear tail of the aircraft. There was quite a bit of marking and aligning of the plates to get the holes aligned and vertical with the required clearances. I then pilot drilled the holes in sequence.
I located the tail wheel mount steel pice that also attaches to the tail post. It required a 1/4 inch hole to be drilled through it for later. i then aligned this addembly with the required bracket angles to drill all together several times up to fit an AN3 size bolt. I am now upto pulling the work all apart in this piece and deburring before continuing with opening up the holes in the Y pieces to no. 30 drill size.
A good days work with no interruptions. You can accompish alot this way!
NOTE: There is a recent additional Y angle 'strap' to strengthen the Y fitting from Sonex. I have the additional Kit and have to fabricate it to meet this tail assembly. Yet to do and not shown on these photos.