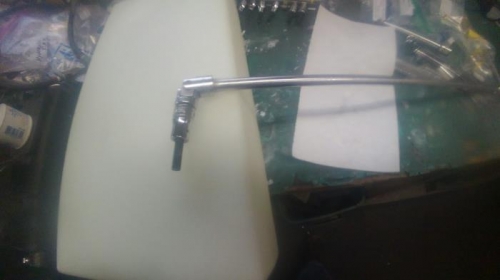
Paragraphs 5 & 6. Install pipe to flair fittings into threaded tank fittings. The large threaded fitting can be held while tightening the flair fittings with a wrench on the outside of the tank. The small ones however have a allen wrench hex broached on the ID that can't be accessed while installing the flair fitting. I used an allen key socket on a long extension with a swivel to reach into the tank and hold the threaded fitting while tightening the flair fitting.
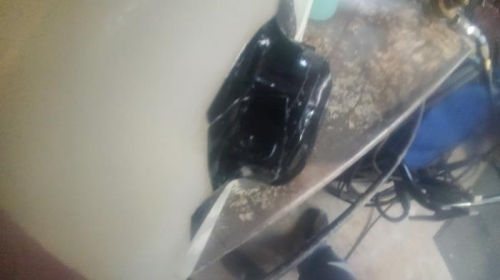
Air pressure check header tank. Leak checked ok. I used duct tape to replace the filler cap while pressure testing. The duct tape may leak a little but I never found that this matters and helps in preventing overpressuring the tank during leak check. The duct tape will also puff outward at low pressures so you have an indication of having enough pressure to check the tank with the soap solution. I used this method in the past on leak checking welded aluminum tanks and found that it works very well.