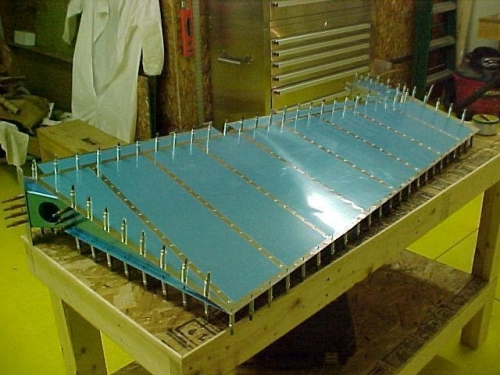
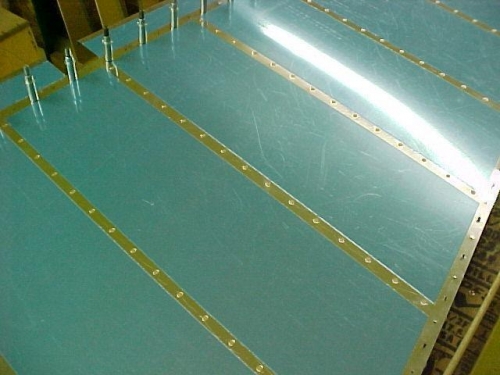
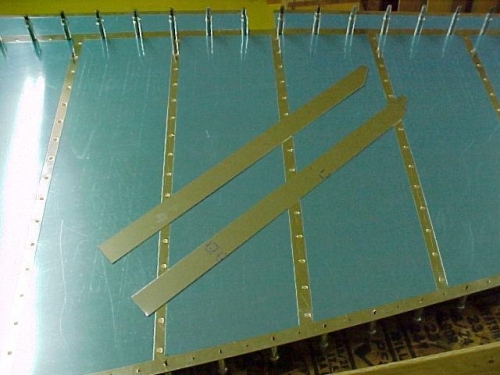
Tonight I started by backriveting the rudder skins. This was easy and I used a piece of steel plate to rivet on. I had to move the plate about half way on each row, but I didn't on the second row and the skin was bent over the edge of the plate. I flattened it out and then re-dimpled the skin. I has a rough spot that I will grind down with a scotch brite wheel after the final riveting. I then clecoed the skins on to the frame. The next step was to trim the rudder brace. I marked the lines to cut. The material is thick and I did not want to use snips, so I thought I would use the air-recipricating saw! What a piece of shit this saw it. Did not work and I'm glad I only spent $18 on it. I then used the cuttoff saw with the 3 inch wheel. This worked. I ground down the cut area and then bent the tabs untill it broke next to the cutting line. I then used the sanding bellt to sand the piece almost to the cutting line. The excess I remove at the deburring will make the piece perfect.....I'm learning! I clecoed the rudder brace and then set out to fabricate the 2 rudder bottom attachment strips. These were easy and I cut then to size and squared all end on the belt sander (disk end). I then clamped these in place with cleco clamps and match-drill into the rib using the existing holes as a guide. Looks good! Tomorrow I will match-drill all the holes and begin to deburr and dimple.