
|

|
|
|
Zenith CruZer & Sonex Logs
|
Date: 2-15-2023
|
Number of Hours: 3.00
|
Manual Reference: C7-ZA-4
|
Brief Description: Cut struts to length
|
|
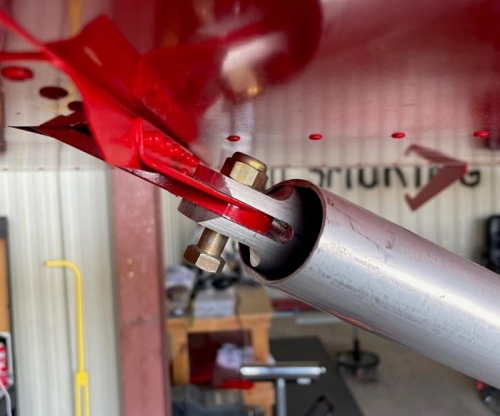
The struts are shipped long. The idea is that you attach the lower strut bracket and bolt in place, then attach that end and hold up the other end to the wing attach fitting, mark it, and cut.
The struts were long enough that I could not get them anywhere close to the upper wing attach fitting, so I lopped off several inches to get me closer. Started with the right wing. I got it close and marked with a Sharpie. Unfortunately, parrallax error made it look like it might not be spot on, so I cut it a bit long. I was then able to get it real close (position wise) and see that I needed to remove about 3/16" more from the length. Trimmed that off and it's spot on. See pic 1 below.
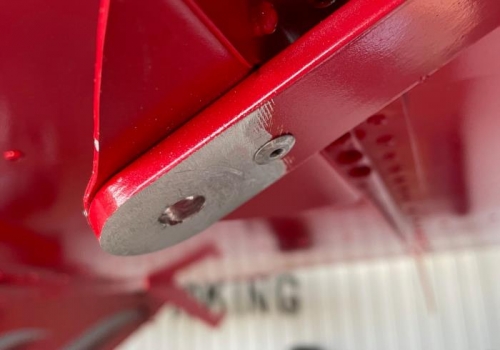
Getting ready for the left wing, I noticed that an A5 rivet was not set on the strut attach fitting when I built it. Reason for that is that some earlier wing kits had that rivet too close to the AN7 bolt hole such that the rivet kept the upper fitting from fully seating. I determined on the right wing that this is a newer design, and everything lined up with no modification. Of course, the rivet would not fit in the hole! I ran the drill thru it, but I must have wallowed-out the backside of the hole a bit because when I set the rivet, it pulled down into the hole more than it should have. Removed it and tried another rivet. This one pulled thru a bit as well, so I up-drilled it to a 3/16" hole to accomodate an A6 rivet. Set the rivet and checkd the strut fitting; all fit well with no mods required.
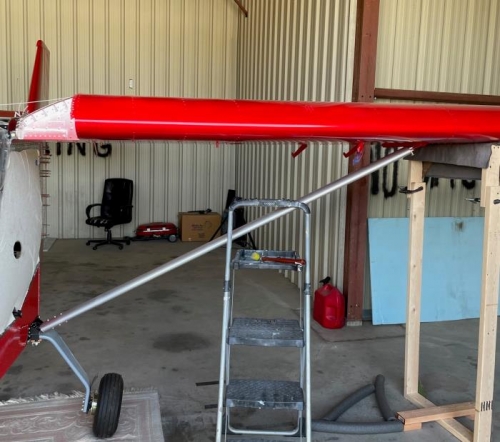
I then proceeded to cut the left strut; much easier this time since I could use the right strut as a template. Cut it just a bit longer than the right, and dang if it didn't come out perfect.
Called it a day.
|
|
|
|
|
|
|
|
|
|
|
|
|
|
|
Copyright © 2001-2024 Matronics. All Rights Reserved.
|