
|

|
|
|
Zenith CruZer & Sonex Logs
|
Date: 4-22-2018
|
Number of Hours: 1.10
|
Manual Reference: C7t-WA-2
|
Brief Description: Cleco nose rib skins in place for drilling main sp
|
|
This was more challenging than I would have thought.
The guide says to use ratchet straps and a 1x2" board to fold the nose rib skin into place for cleco'ing. Tried this several times with the 1x2 where I thought it would do the most good. I could NOT get the amount of pull in order to get the holes lined up.
Finally, I placed the board on the lower side of the leading edge, and cranked the snot out of the straps. I seriously thought the straps would shear, but finally after one more click on each strap, the holes lined up. Plans say put a cleco in EVERY nose rib hole, so I did.
Moving to the outer skin with the new knowledge in hand, I positioned the straps and got the holes to line up well enough to cleco. Again, a cleco in every hole.
Lastly, I installed the aft upper skin (remember - I previously riveted the L-angle stiffeners in place) and cleco'd just enough to line 'em up and keep it from sliding. More cleco's to follow.
The order is a bit different from final assembly, since the pilot holes for the main spar are only in the aft skin. As a result, the hole-less nose skins get placed first, THEN the aft skin, so that the builder can drill thru the aft skin (sized at #40) thru the nose skin, and into the main spar. These holes (a bunch of 'em) are then progressively up-drilled to #30, and finally #20 in prep for an A5 rivet. Once drilled, all is disassembled, deburred, then RE-assembled with nose skin on top, and riveted.
|
|
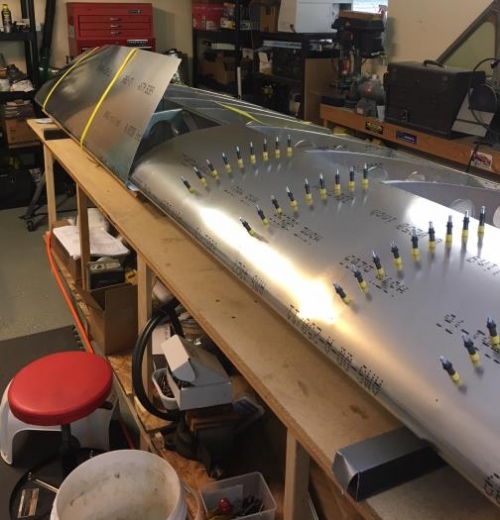
Inner skiin cleco'd
|
|
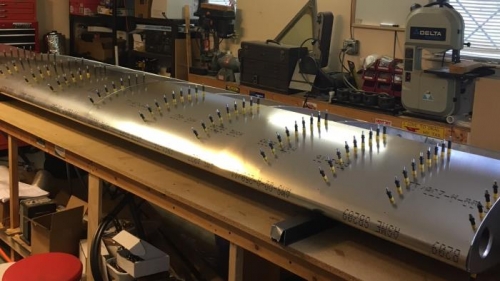
both skins cleco'd
|
|
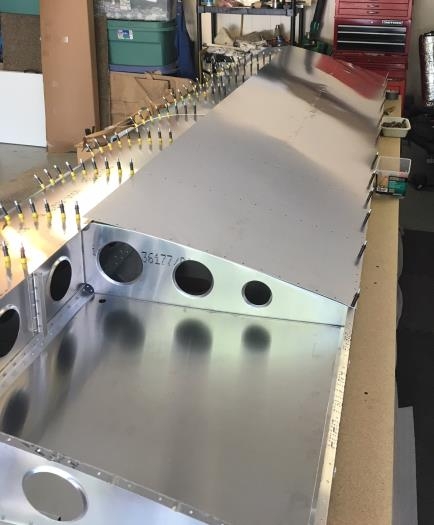
aft skin just set in place
|
|
|
|
|
|
|
|
|
Copyright © 2001-2024 Matronics. All Rights Reserved.
|