Brief Description: Section OP37- RV-10 WIRING HARNESS Page OP37-12 St
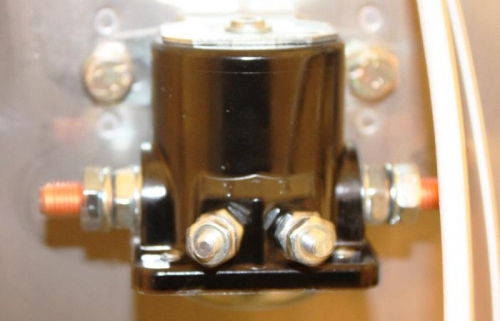
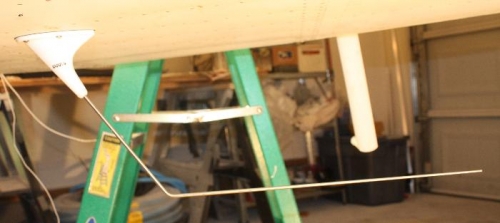
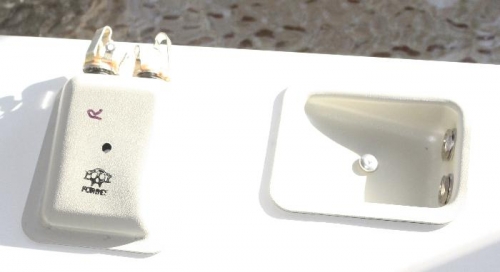
Section OP37- RV-10 WIRING HARNESS Page OP37-12 Steps 1 to 6. Step 1 Located the master relay and connected to the battery box. Step 2, Skipped this step as I will be mounting the strobe power supply on the dedicated shelf I created. Step 3, Final drilled a hole in the battery bellcrank mount for the AN4 bolt this will be used as the negative ground terminal. Scrapped away the paint in order to obtain a excellent grounding effect. Step 4, Located and mounted the ES-24021 Starter Relay temporally to the Firewall Bulkhead at it’s designated position. Step 5, Omitted this step of placing the Concord battery into the battery tray because I don’t have the battery yet. Step 6, I have already unfurled the harness in previous steps. But I have yet to connect the harness to the terminals block. I shall wait to do this until I have all the wires in place. Time about 2 hours.