
|

|
|
|
Conrads X-10 Build Log
|
Date: 5-19-2009
|
Number of Hours: 6.00
|
Manual Reference: Section 22-6 steps
|
Brief Description: 22-6 Steps 1 to 6. OUTBOARD ROD END RIB SUBASSEMB
|
|
5/18/2009 – 5/22/2009 Section 22-6 Steps 1 to 6. OUTBOARD ROD END RIB SUBASSEMBLY, I completed the sub-assembly step 1 by riveting the Nose Rib FL-1004-L to Doubler FL-1006 using AN470AD4-4 and AN426AD3-4.5 to the Nut Plate MK100-428 as shown in Figure 1. INBOARD ROD END RIB SUBASSEMBLY, Step 2, riveting the Nose Rib FL-1004-L to Doubler FL-1006 using AN470AD4-4 rivets as shown in figure 2. LEFT HINGE PAIR RIB SUBASSEMBLY, Step 3, and Riveted together the two Left hinge pair subassemblies FL-1007-L and FL-1004-L using AN470AN4-4 rivets as described in Figure 3. RIGHT HINGE PAIR RIB SUBASSEMBLY, Step 4, and Riveted together the two Right hinge pair subassemblies FL-1007-R and FL-1004-R using AN470AN4-4 rivets as described in Figure 4. HINGE PAIR SUBASSEMBLY, Step 5, Double flush riveted “joggled” flanges of the Right and Left Hinge Pair Bracket assembly completed in steps 3 and 4, see Figure 5. CENTER HINGE SUBASSEMBLY, Step 6, Riveted together the Center Hinge Par Bracket sub-assembly using AN470ANAD4-10 (long rivets) as shown in Figure 6. Then Double Flush riveted the “Joggled” flanges using AN426AN3-3.5 rivets. Time for both Left and Right Flaps, 5 hours.
|
|
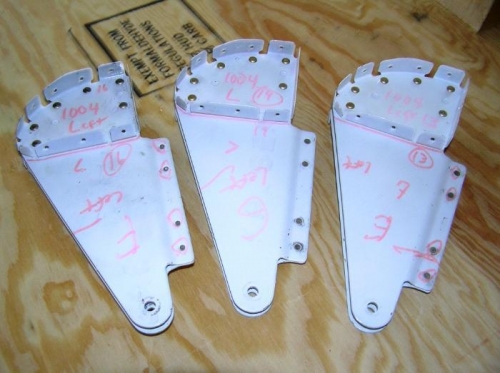
Right Hinge Brackets Sub-Assemblies
|
|
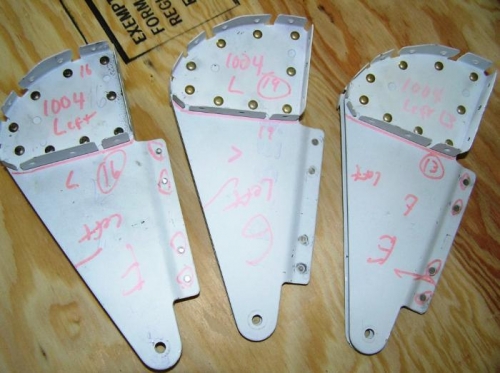
Left Hinge Bracket Subassemblies
|
|
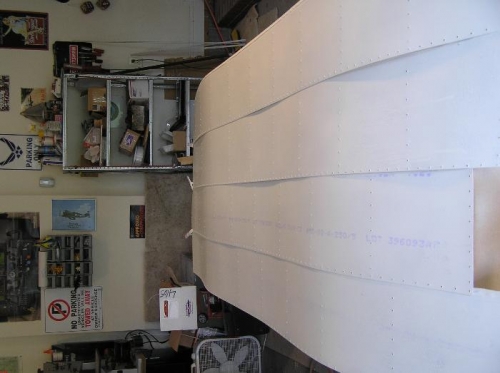
Dimpled and Primed Skins form Section 22-5
|
|
|
|
|
|
|
|
|
Copyright © 2001-2024 Matronics. All Rights Reserved.
|