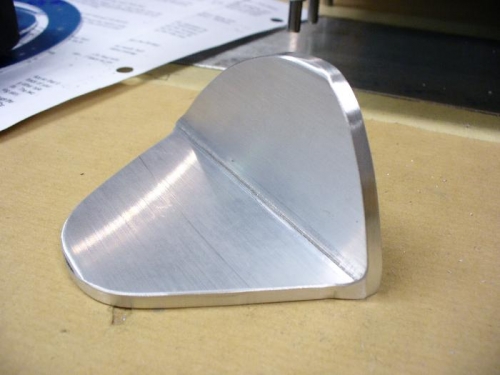
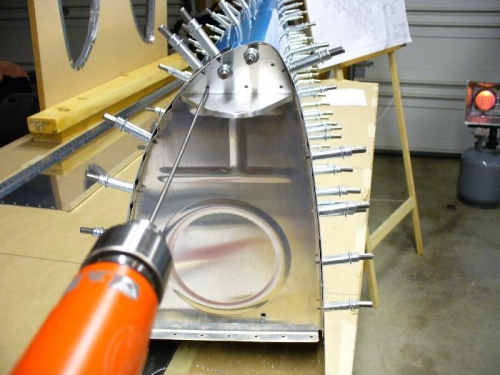
Fuel tank stiffners clecoed and drilled out (pic 1). Next, I fabricated the tank attach bracket seen in pic 2. I traced the pattern to a papaer from the plans, cut out, then traced onto the alum angle. Initial cutting was on the bandsaw - the heat was intense. Sanding on the disc/belt sander came next (had to wear work gloves), then final debur on the Scotchbrite wheel. I transferred the hole pattern from the paper to the bracket with a punch, drilled out, then drilled to the nose rib (pic3). Next came the inner backup plate - I used the other tank's nose rib and the plans to mark what to remove, used snips, sanded and deburred. It fit well the first time - I then drilled it using the rib as a template.