
|

|
|
|
Serenity
|
Date: 12-25-2006
|
Number of Hours: 4.50
|
Manual Reference:
|
Brief Description: finished ribs
|
|
I spent 3 1/2 hours finishing the fluting and seaming of the ribs, then 1 hour cutting conduit holes in the main ribs. I will run conduit (or just put in grommets) for the wing wiring for strobes, position lights, landing lights, and anything else needed such as an antenna in the wingtip. Van's website has a .pdf describing their recommendation where to cut a hole in the rib - I made a marking template (pic 1), drilled a 1/4" starter hole, then enlarged to 3/4" with the awesome unibit, then deburred. Ribs all prepared, now time to assemble. The steps here are to cleco and drill, deburr, then rivet the main ribs to the front and back spar. I will do this on the workbench, but then transfer to a vertical jig before installing the skins. I decided to build one wing at a time from this point forward, because: 1) Less room occupied in the garage 2) You see progress quicker, less monotony 3) Any mistakes will be learned for the second wing, less likely repeated. YMMV.
|
|
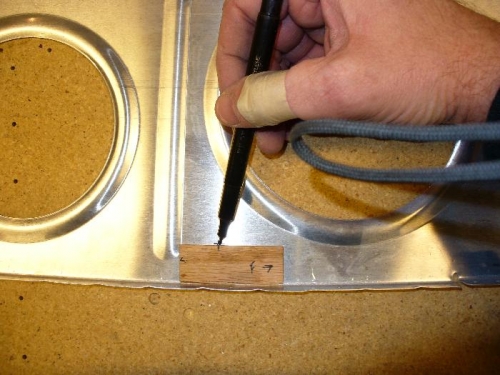
Mark
|
|
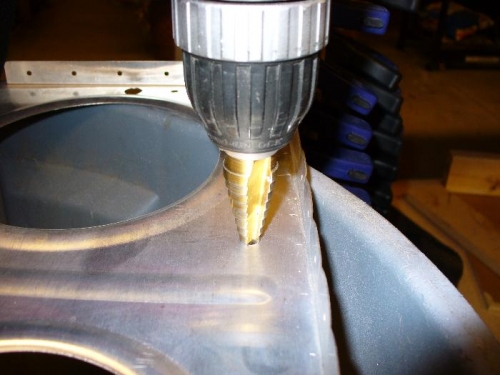
drill out with unibit
|
|
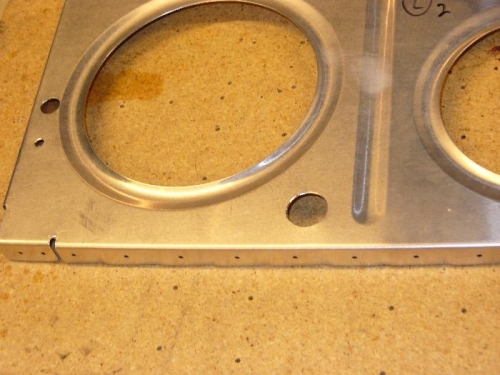
finished hole
|
|
|
|
|
|
|
|
|
Copyright © 2001-2024 Matronics. All Rights Reserved.
|