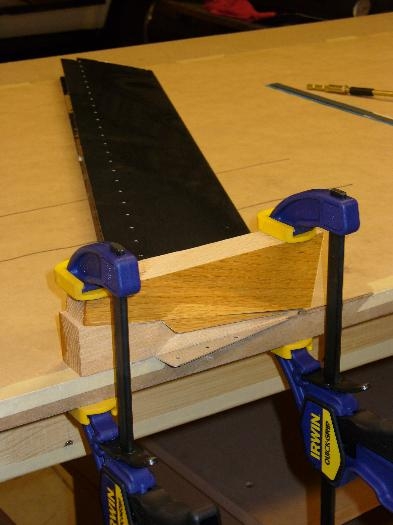
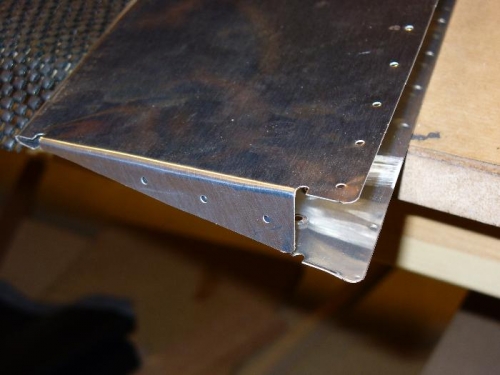
Trim tab - masked skin where foam ribs will fit and scuffed aluminum with 150 grit for better adherence by the fuel tank sealant. I happened to be at RV-7 builder Chad Jensen's tonight and borrowed his bending brake(pic 1) to flatten the skin fold a bit (fairly important - enough warnings out there of low frequency flutter problems just from a slightly ballooned trailing edge). Next, I made a couple wedges using the rib template to clamp the edge and bend the tabs in to create the edges (pic 2). It came out OK, but the lower and first tab to be bent was a alittle sloppy due to the inner wedge sliding a little. The better upper tab folded more cleanly and conceal the slop (pic 3). The bending was done with a hammer and piece of wood - I also tried a couple builders' technique of using the flush rivet set, but I felt the wood was more controllable.For the other side, I will brace the inner wood wedge with a long perpendicular piece fo flat wood like a wood yardstick. I also made the trim tab horns, cut and shaped to size to fit the electric trim option. I did not follow Van's instructions here per Smitty's ( http://smittysrv.com/rv_stuff.asp ) advice, and will install these AFTER bending the tabs. The 4 inch no hole yoke will reach in easily enough.