Brief Description: The beginning steps of the training kit
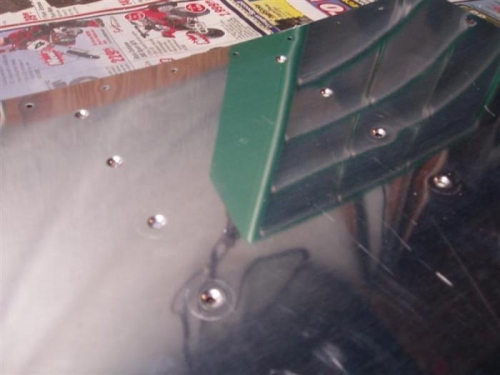
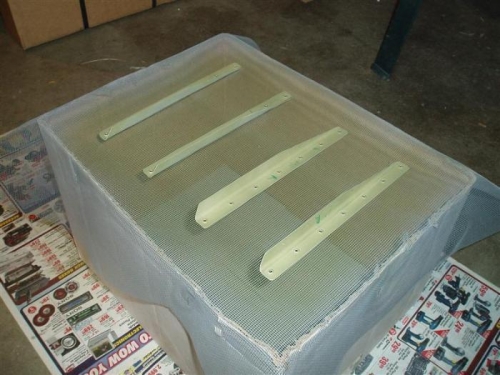
The first step of the training kit requires that you trim some aluminum angle, giving it a shape that would fit within the control surface. Once shaped, it is no longer aluminum angle .. they stiffeners!In step 2, we match drill the above stiffeners with the two skins (bottom and top).To kick off step 3, the skins and the stiffeners had to be dimpled. (The pneumatic squeezer and Cleaveland dimple dies worked great here)! Because my pneumatic squeezer doesn't have a large yoke on it (only 3") it wasn’t able to reach the middle holes for dimpling. I also don't have a C-Frame dimpler so I had to break out the Pop Dimple Dies from Aircraft Tool Supply. Let me tell you, what a pain in the ass! I am certainly looking into getting a C-Frame dimpler now or some other method for dimpling the large skins. Compared to the nice clean dimples the pneumatic squeezer (and quality Cleaveland dies) it was like creating dimples with a blunt chisel and a rubber hammer.Before proceeding with step 3, the parts are primed (not required for the training kit (or any part of the airplane kit, if you ask some folks) but good practice to see how it’ll work out). You can see the primed stiffeners and one of the skins dimpled below.Next up: rivet them together!