
|

|
|
|
N19MM Contruction Log
|
Date: 11-27-2005
|
Number of Hours: 2.00
|
Manual Reference:
|
Brief Description: Riveted spar to ribs
|
|
Finished Step 3:Back riveted the reinforcement angle to the skins, using a bucking bar on the machine head (the flat or rounded rivet "head" as you get it loose in a bag) and a spring loaded back riveting tool in the rivet gun. Worked well, though I will need to get one of those large pieces of steel for back riveting as you can easily misplace the small bucking bar and screw up your rivet and/or skins.Onto Step 4:Drilled and riveted the reinforcement plate to the spar (see picture below, with the plate that has 5 rivets in it). Little bit of a fiasco drilling the spar for the two end-most rivets. I didn't have a good way to match drill the rib flanges there, since the rib gets smaller and doesn't have room for a drill (and no angle bit!). Ended up screwing up one of the holes, but it worked out after I used a Sharpie to mark the location of the holes and drilled them on the drill press. After that, you cleco those two holes and drill the other 3 holes for each plate. Lesson learned here: match drill with the correct sized drill bit, as the wrong size won't line up right once you redrill the holes to a larger size!For Step 5: Riveted the ribs to the spar, creating the skeleton for the ribs.Starting Step 6:Cleco'ed the skins to the ribs (picture below). Ready for match drilling and drilling of spar flange.Next up: match drill skins to the ribs, drill fresh holes in the spar, and setup the training edge!
|
|
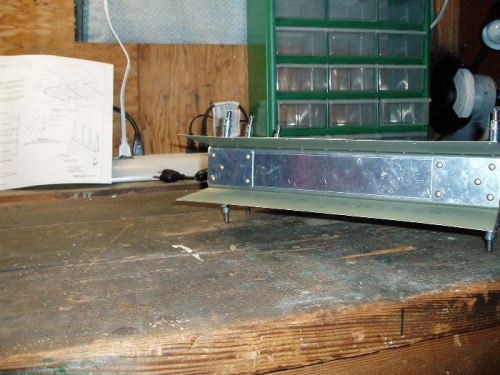
Reinforcement plates rivetted to spar and ribs
|
|
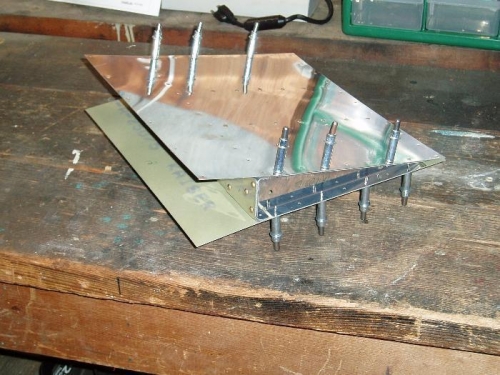
Skins cleco'ed to ribs
|
|
|
|
|
|
|
|
|
Copyright © 2001-2024 Matronics. All Rights Reserved.
|