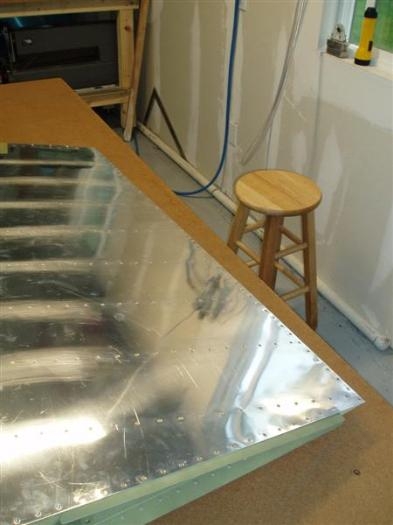
Steps 32 through 42: A lot of these steps are just instructions/advice and aren't actually TO DO steps. There's really only 3-4 steps in there that involve anything, and they all have to do with riveting the trailing edge.I used Gorilla Glue to clue the trailing edge while clamped with a piece of angle bought at Lowes. (Sorry, no pictures). I decided on Gorilla glue because I didn't really want to use epoxy, though now I wonder if the trailing edge would be a little bit tighter. You can't see it in picture 2, but there is a minuscule gap between the AEX wedge's trailing edge and the skins.After letter the glue sit for a few hours I started back riveting the TE. This was pretty easy to do, but required a lot of flipping. I ended up using a piece of aluminum angle (same one I used to clamp it while the glue cured) with a large whole drilled in the middle. I'd cleco this to the edge and then set a rivet where the big hole in the angle ended up. I'd slide the angle up and down the rudder as I back riveted. Some folks don't even flip the rudder over, but I did almost every other one from the other side.