
|

|
|
|
Stephens Web Site
|
Date: 5-27-2018
|
Number of Hours: 4.50
|
Manual Reference: Section 7
|
Brief Description: Drill Left Flap Hinge
|
|
I set the aileron to neutral with both the wooden and metal jigs. Cleco'd on the bottom skin and saw the alignment of the flap brace to the skin was not very good. The brace had to be bent down on the inboard end to line it up. Took several iterations of removing the skin, bending the brace, and reinstalling the skin before I was satisfied with the fit.
I set up the flap and lined it up with the aileron, set the 1/4 inch gap between the flap and aileron and clamped all firmly in place. This was the wider hinge material and with the flap properly lined up the hinge was not laying flat, it was on the curve of the flap brace flange. Removed hinge, marked a line to remove approximately 1/16 inch from the flap hinge, used a drum sander with 50 grit sandpaper and a vixen file to cut down the hinge. Also clamped on the old hinge as a guide to keep the edge straight. Used scotchbrite to finish the edge smooth.
Reinstalled the flap on the wing, reset and triple checked all gaps and alignments, and was finally ready to drill. Frances used a shaved down popsicle stick to help hold the hinge tight to the flap brace and I pushed on the skin next to the hole to keep everything aligned. Drilled and cleco'd every third hole across the hinge, then went back and drilled the holes next to a cleco, then finished drilling the middle holes.
|
|
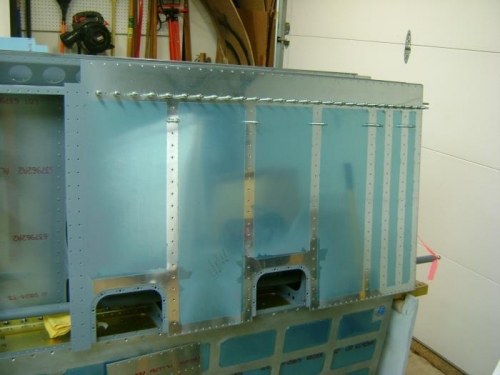
Flap brace alignment
|
|
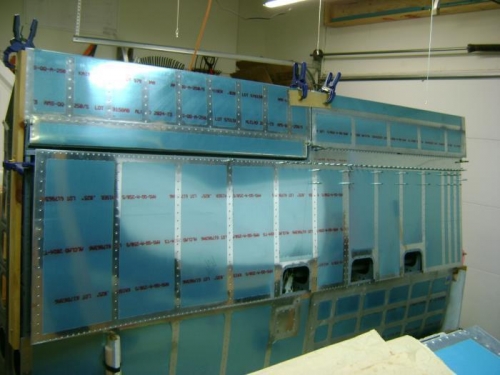
Preparing to drill
|
|
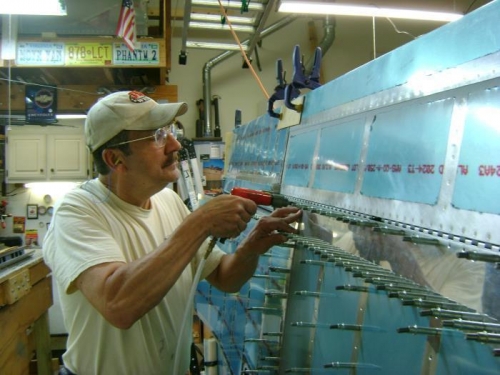
Drilling the hinge
|
|
|
|
|
|
|
|
|
Copyright © 2001-2024 Matronics. All Rights Reserved.
|