Brief Description: Rivet Counterweight and Bottom of Aileron
Decided to keep building the aileron. If Van says replace the spar for the bad rivet this will all be a practice project.
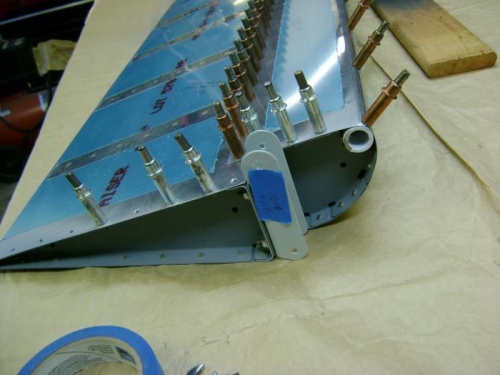
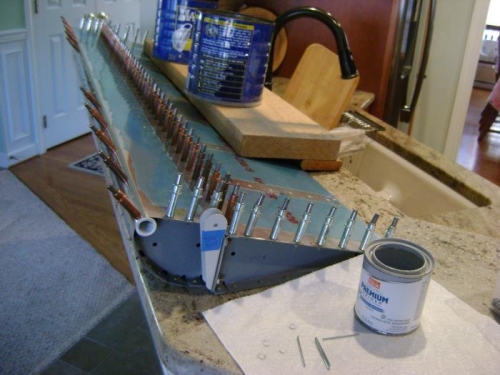
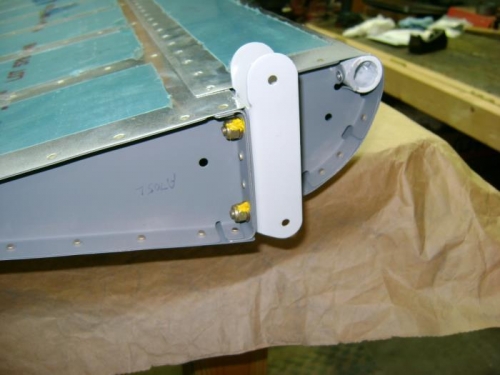
The plan calls for bolting on the aileron mounting brackets before riveting the skins on the bottom. The bolts will interfere with one rivet, so I put them on with temporary bolts for now. I set up the aileron on the granite kitchen counter as this was the flattest surface I have, and weighted it down with cans of cleco's. The aileron looked nice and straight, so I dipped a countesunk blind rivet in primer and riveted the skin to the counterweight. Started in the center and moved out alternating sides, dipping each rivet in the primer and checking the aileron regularly for flatness. All looked good. Next I set the rivets in the bottom of the spar, again checking the flatness of the aileron periodically. Once all the pulled rivets were done, I used the squeezer to set the rivets for the aft skin on the bottom of the main ribs, removed the brackets to set the final rivets, then reinstalled with proper hardware, torqued to 28 inch-pounds and marked with Torque Seal.