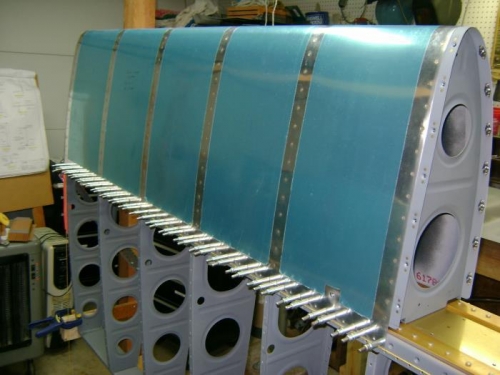
I finalized the brackets to support and stabilize the skeleton and drilled and screwed them to the wing stand. Rechecked the skeleton for level, straight, and square and clamped the skeleton securely to the brackets. The string to rear spar measurements were exactly the same at root and tip.
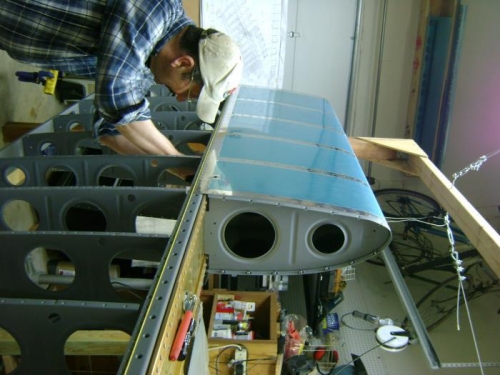
Installed the leading edge section and cleco'd every hole for skin to spar and ribs to spar. Everything lined up nicely. Used the squeezer to set the skin to spar rivets, starting in the center and working out toward each end. Installed about half the rivets on the bottom of wing then did the same on the top. Went back to the bottom and finished off riveting in the same pattern, then finished the top.
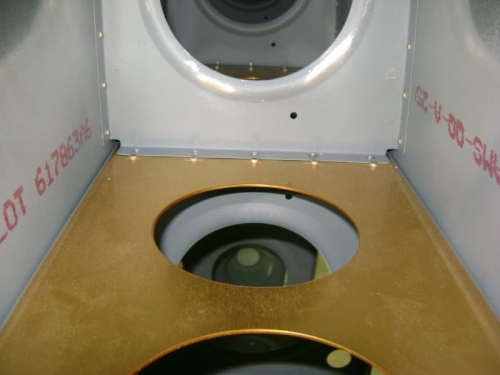
I experimented with several ways to get my rivet gun into the leading edge to set solid rivets for the rib to spar. I was not comfortable with any of them. I asked Van's Tech Support about using pulled rivets and if there were any restrictions on how many pulled rivets were acceptable. Also asked if there were any restrictions on orientation of the rivets. Tech support reponded that I could use LP-3 and LP-4 rivets as appropriate, no restrictions on number or orientation.
I attached all the ribs with pulled rivets. Three with the factory head inside the wing and three with the factory head on the bottom of the spar. My close quarters puller worked well for all. I did use a piece of leather to protect ribs from scratches by the puller.