Brief Description: Prime Spar, Set Mystery Rivets and Re-Countersink
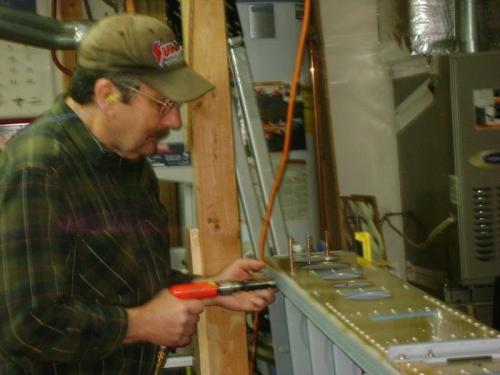
We rolled the left wing spar out in the driveway and I shot the flange of the spar to prime all the countersinks. While the primer dried I calculated the required rivet length for the "mystery rivets" and came up with a 3.6 length. I rounded down to 3.5 and set the first rivet. The countersink wasn't quite deep enough and the shop head was too thin. I used the deburring tool to take a little more material from the next countersink and stepped up to a -4 rivet length. This yielded a nice flush rivet with a properly sized shop head. I continued to use the deburring tool to slightly deepen each countersink and set the remaining rivets. I went back at the end and drilled the first rivet, cleaned the countersink and re-set with a -4.
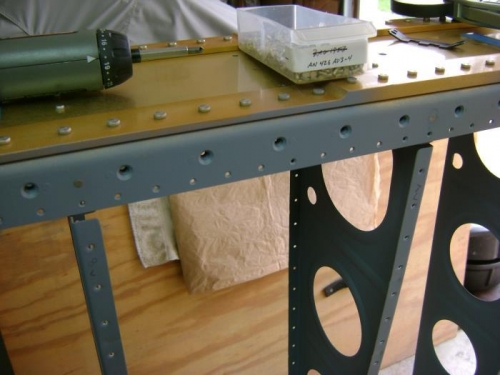
I started hanging the skins to check the fit and since the countersink was set to 7 "clicks" past what I thought was flush (see problem above) there was a visible gap between the skin and spar where the dimples didn't sit down into the countersinks. More research on different ways to measure a countersink for proper depth resulted in a table of diameters for the min and max to accomodate various skin thicknesses. I reset the countersink until I could cut a countersink with the minimum diameter. These seemed a better fit with my test piece and I re-did all the countersinks for the inboard skin. Hanging the skin resulted in a much better fit. I then re-did all the remaining countersinks.