Brief Description: Begin Work on Left Leading Edge
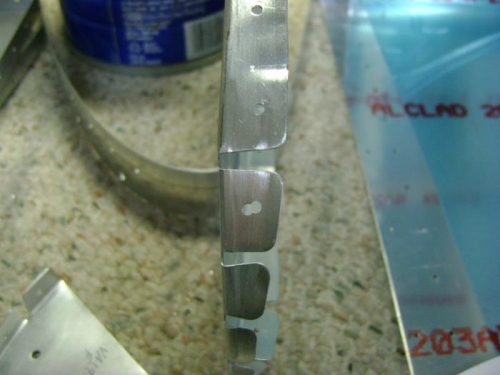
I dis-assembled the left leading edge and edge finished the skin then began deburring the ribs. I found I had double drilled the most forward tab on all four interior ribs. Did some research on VAF website for possible fixes and decided the best way was to cut out the bad tabs, make replacements and rivet them in.
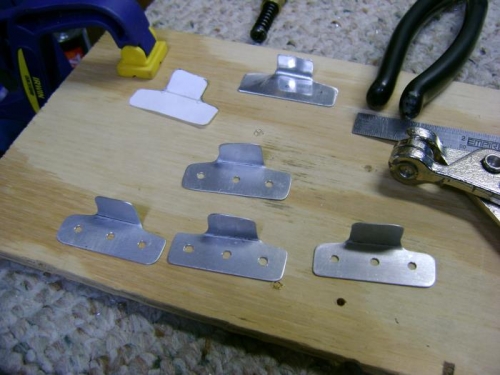
I made a paper template for the replacement tab then used material from the wing trim bundle to make a practice piece. This went well so I set up a production line and cut blanks from the trim bundle, traced the pattern, drilled the interior corners, and cut out the parts on the band saw. Cleaned up all the edges and bent the tabs in the vice, then finished them with my rib flange straightening tool. Drilled them for -4 rivets and deburred the holes.
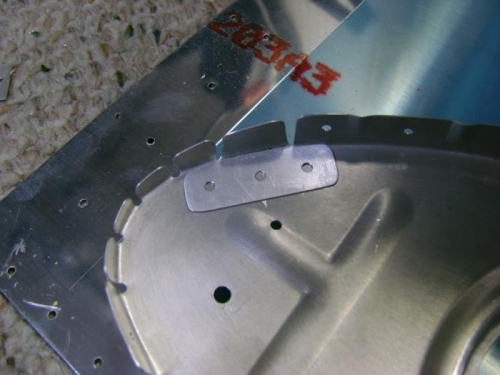
I used the dremel tool to cut off the old tab and filed and smoothed the cut leaving just a small lip as a guide for the new tab. I lined up the new tabs and marked each for the rib it went on, then match drilled the tab to the rib. Deburred the holes, washed all parts and dried. Then shot the tab and the mating surface on the rib with NAPA 7220.