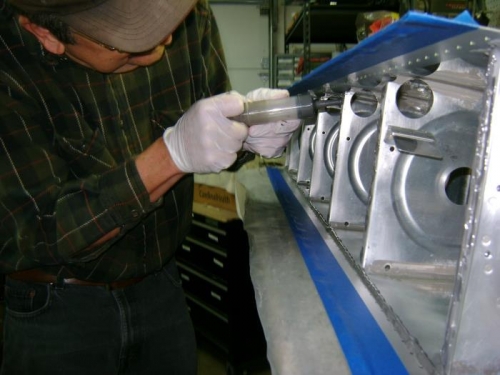
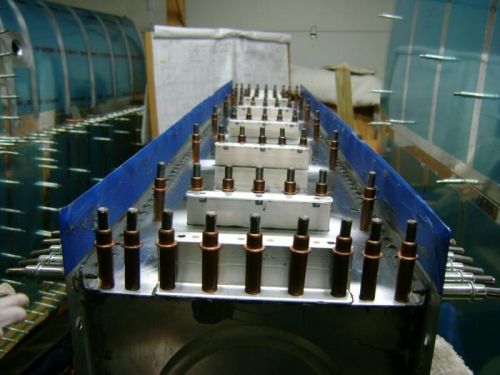
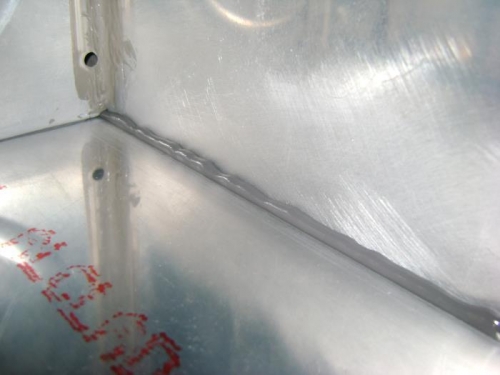
Wiped all mating surfaces down with MEK. Ran tape lines on skin to help keep sealant controlled and make good fillet on flange of baffle. Measured two 60 gram batches of sealant and mixed one, set the other aside for later. Joseph was here to help as we loaded the first batch of sealant into a medical irrigation syringe. Working with tank on the bench we ran a continuous 3/16 inch bead of sealant just in front of rivet holes on skin on the top of the tank. Had enough sealant left to apply sealant to the ends of several ribs. Flipped the tank over, mixed second batch of sealant and put a bead on bottom of tank. Moved the tank to the cradle. Used remaining sealant on ribs and applied a thin layer to the flange of the baffle and rib mating surfaces. Smoothed sealant on the flanges with a plastic picnic knife. Carefully set the baffle down in the tank and installed clecos in the top and bottom of ribs, then cleco'd the skin to the baffle starting at the center and moving out board. Got all cleco's in and inspected skin to flange joint. No "pillowing" at all with just clecos. Put some sealant on mating surface of Z-brackets and cleco'd them on as well. Set tank on bench with nose up to help sealant flow back into baffle joint. The areas we could see had a good fillet between baffle and skin.