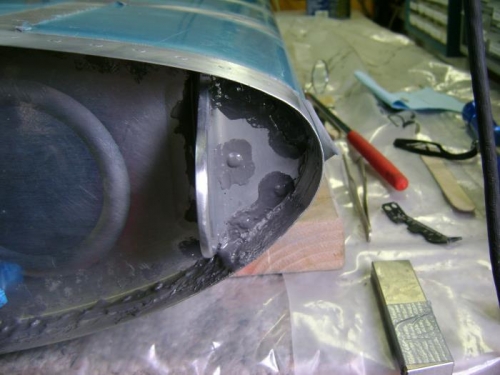
I finished cleaning up the T-410s inside and out and wiped area down with MEK. Successfully shot the four new rivets and sealed them up inside and out. Put the tank in the cradle and cleco'd on the rear flange. I was pleased with how well the flange lined up with the tank. I then cleco'd on the cover plate with fuel pickup and fuel level sender as a test for final installation. I will get a full inspection on the tank before I install the rear flange for good.
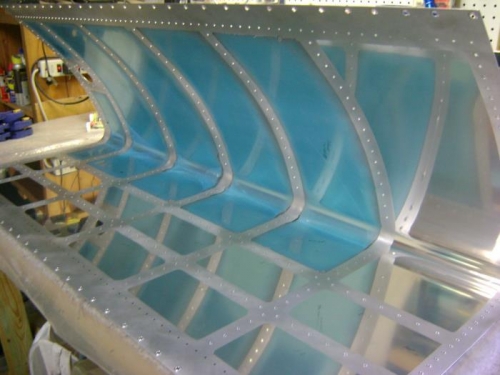
I started on the left tank, removed the blue plstic from inside, then washed the skin and stiffeners with Dawn dish soap and air dried. I wiped mating surface with MEK, then put painters tape down to control sealant while installing stiffeners. Set up two 40 gram batches of selant by weighing sealant and hardener and mixed one batch. Put sealant on skin and stiffener with plastic picnic knife and pressed them into place, cleco'd every hole and then used popsicle stick to make fillets around each stiffener. Mixed second batch and continued until all stiffeners were installed.