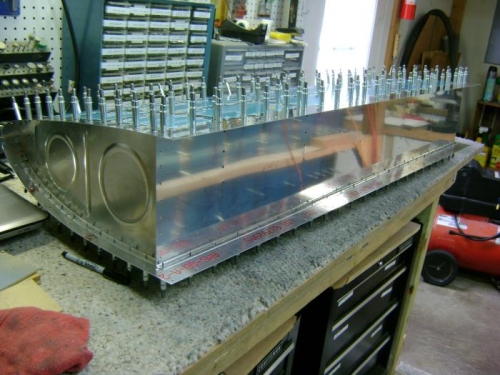
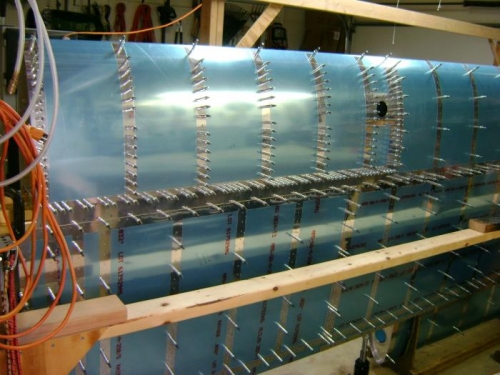
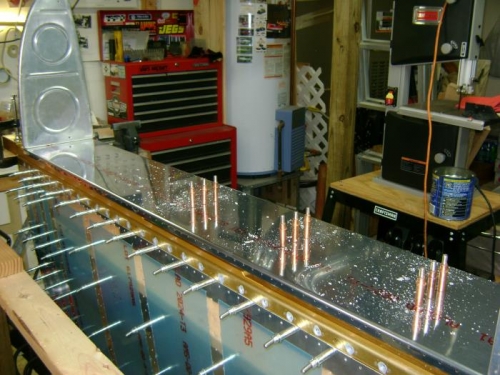
I installed the baffle on the tank and then cleco'd the tank in every hole. I had to scrounge clecos from the left wing as there are a lot of clecos in that tank! Mounted the tank on the wing and cleco'd the skin to the spar using 1/8 inch clecos in the nut plates. Also added a ratchet strap to make the tank and leading edge line up perfectly. Used a 12 inch #30 drill with a drill stop to drill the inboard end rib to the Z-bracket, cleco'd as I drilled. Removed the outboard leading edge and drilled the outboard rib to the Z-bracket, also using the long #30 drill and cleco'd. Removed the tank skin and inner ribs leaving the end ribs and baffle cleco'd to the spar. Changed to a short #30 bit with drill stop and drilled the remaining z-brackets. I had used a 1/16 offset on setting up the brackets to facilitate pop riveting later, and when I removed the tank skins the centerlines on the brackets were barely visible. After drilling and removing the baffle I saw the edge distance for bracket 1 - 5 is insufficient. Ordered new material from Van's and will use some T-712s from the left side to re-make these brackets with a smaller offset to maintain edge distance for the bracket to baffle rivets.